
Deep scratches that leave exposed sheet metal and perhaps even a crease or dent, can be tricky to fix. But worse can happen if you simply let the scratch fester, because moisture and oxidation will creep under the paint and cause all manner of trouble. It's best to take a deep breath and get on with remedying the damage – and the good news is that anyone with the right tools and a bit of patience can learn how to make it look like it was never there, or at the very least keep it from getting worse.
You’ll need the following materials:
- Lint-free cloths
- Wax/silicone remover (eg. 3M General Purpose Adhesive Cleaner and Wax Remover)
- Tack cloth
- Chemical metal conditioner (if bare metal is visible)
- Primer and touch up paint (available in aerosol cans)
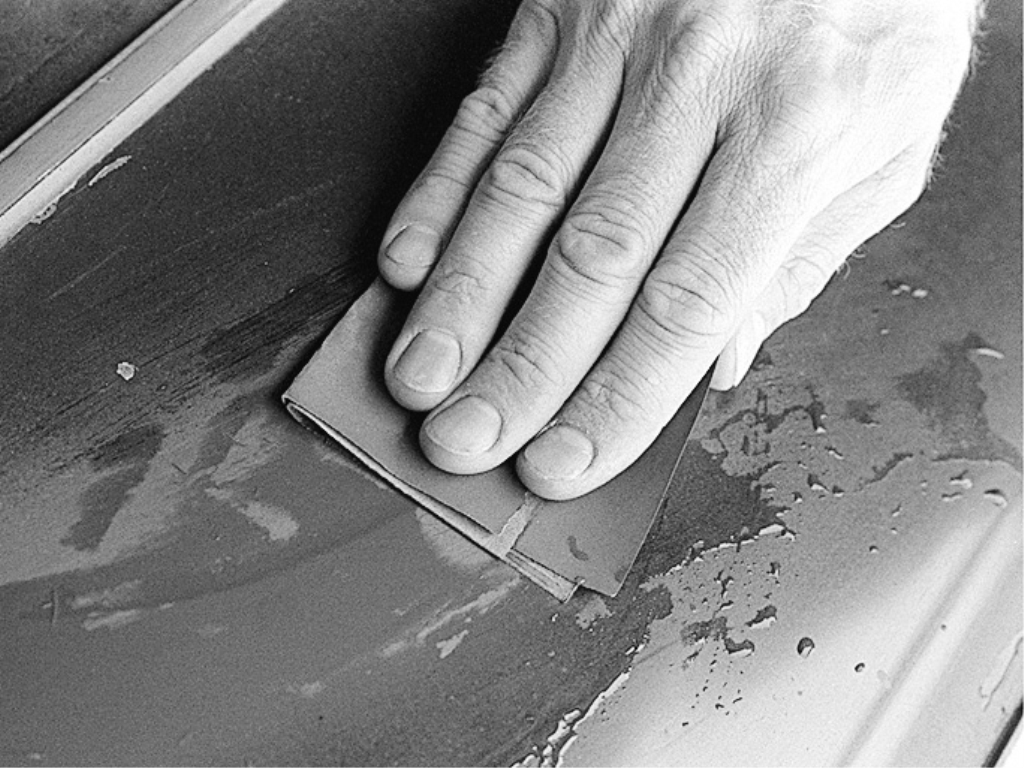
- 320, 400 and 1000 grit wet or dry sandpaper
- Stopper (filler)
- Masking materials (paper and tape)
- Rubbing compound
- Automotive wax
- If rust is involved, a chemical rust remover
- Touch up clear coat

1) Clean - The first step in repairing any paint scratch is to completely clean it and the surrounding area. Wash the surface with mild soap and water, rinse it well and dry it with a lint-free cloth. You have to get rid of every trace of old wax, because that will stop the new paint adhering properly. Automotive paint shops sell special cleaners designed to remove all traces of wax, grease, silicone and other sealers from the paint – buy and use one!
2) Rust - Use 320 grit wet or dry sandpaper to remove all traces of rust, then use a chemical rust remover (follow the directions on the container). Apply the wax/silicone remover again.

3) Feather the edge - Sand the repair area with medium-fine 320 grit sandpaper, but not so hard you go right through the paint. All you want to do is scuff up the top layer and start feathering down the edges of the scratch. In order to get new paint to stick properly you have to give the old paint a rough enough "tooth", and in order to not see the scratch you need the edges to be feathered smooth.
4) Scuff the area - Follow up by wet-sanding the whole area with 400 grit sandpaper, using a hose or a bucket of water to keep the paper clean. After sanding, you should have a finish nearly as smooth as the original painted surface, but without gloss.

5) Feel - The area should feather (blend very gradually) into the surrounding paint. If you can feel a ridge as you run your hand over the area, sand some more with 400 grit until smooth.
6) Prime - Give the area a light coat of primer, then let it dry, before sparying on another light coat. Very light coats will avoid runs or sags, but you must let the first coat dry before spraying on the second coat.
7) Wet sand - Allow the primer to dry COMPLETELY (check the instructions, but typically at least an hour), then get out the hose or bucket and wet sand the primer with 400 or 600 grit wet or dry sandpaper. Work the paper over the area very lightly. The idea is to get the primer smooth. If you sand completely through the primer, just spray on another light coat, let it dry, and sand some more. I you leave the primer coat rough, or a ridge is present where it blends into the existing paint, it will still be there after you spray the paint over it.
8) Clean Again - Wait for the primered area to dry completely, then wipe it clean with a tack cloth to make sure there’s no dust left on the surface. The key to a great paint job is meticulous preparation.

9) Paint - Spray a light ‘fog’ coat of paint onto the repaired area. The paint coat should be so thin you can still see the repaired area. This fog coat is just to give a tack base for the following coats of paint to adhere to.
10) Second coat - Spray on the second coat. Make sure it’s heavy enough to cover the repair, but not so heavy that the paint runs or sags. Several thin coats are better than one heavy coat. Let each coat dry to the tack free stage before applying the next one.
11) Clear coat - Most vehicles use a two-part, base coat/clear coat paint system. After the color coat has dried, it is common to add several thin coats of clear over the paint to protect it and add a higher gloss. If you want a near-OEM finish and toughness, use 2K clear coat, with an activator button on the can – this hardens like an epoxy in a matter of hours.
12) Buff out - Let the paint and clear dry for several days (a week would be best), then use a very fine rubbing compound very gently to blend the new paint into the existing finish. If it’s done right, and followed with a thorough cleaning of the old paint and a fresh coat of wax over the whole area, you won’t be able to tell where the repair was made.