Since day one, Haynes has been all about helping you, the home mechanic, to carry out your own repairs on your vehicles. Here, we celebrate those who use their spare time and Haynes Manuals to repair and improve their pride and joy.
DIY champion: Mike Johnson
Vehicle: Honda Civic
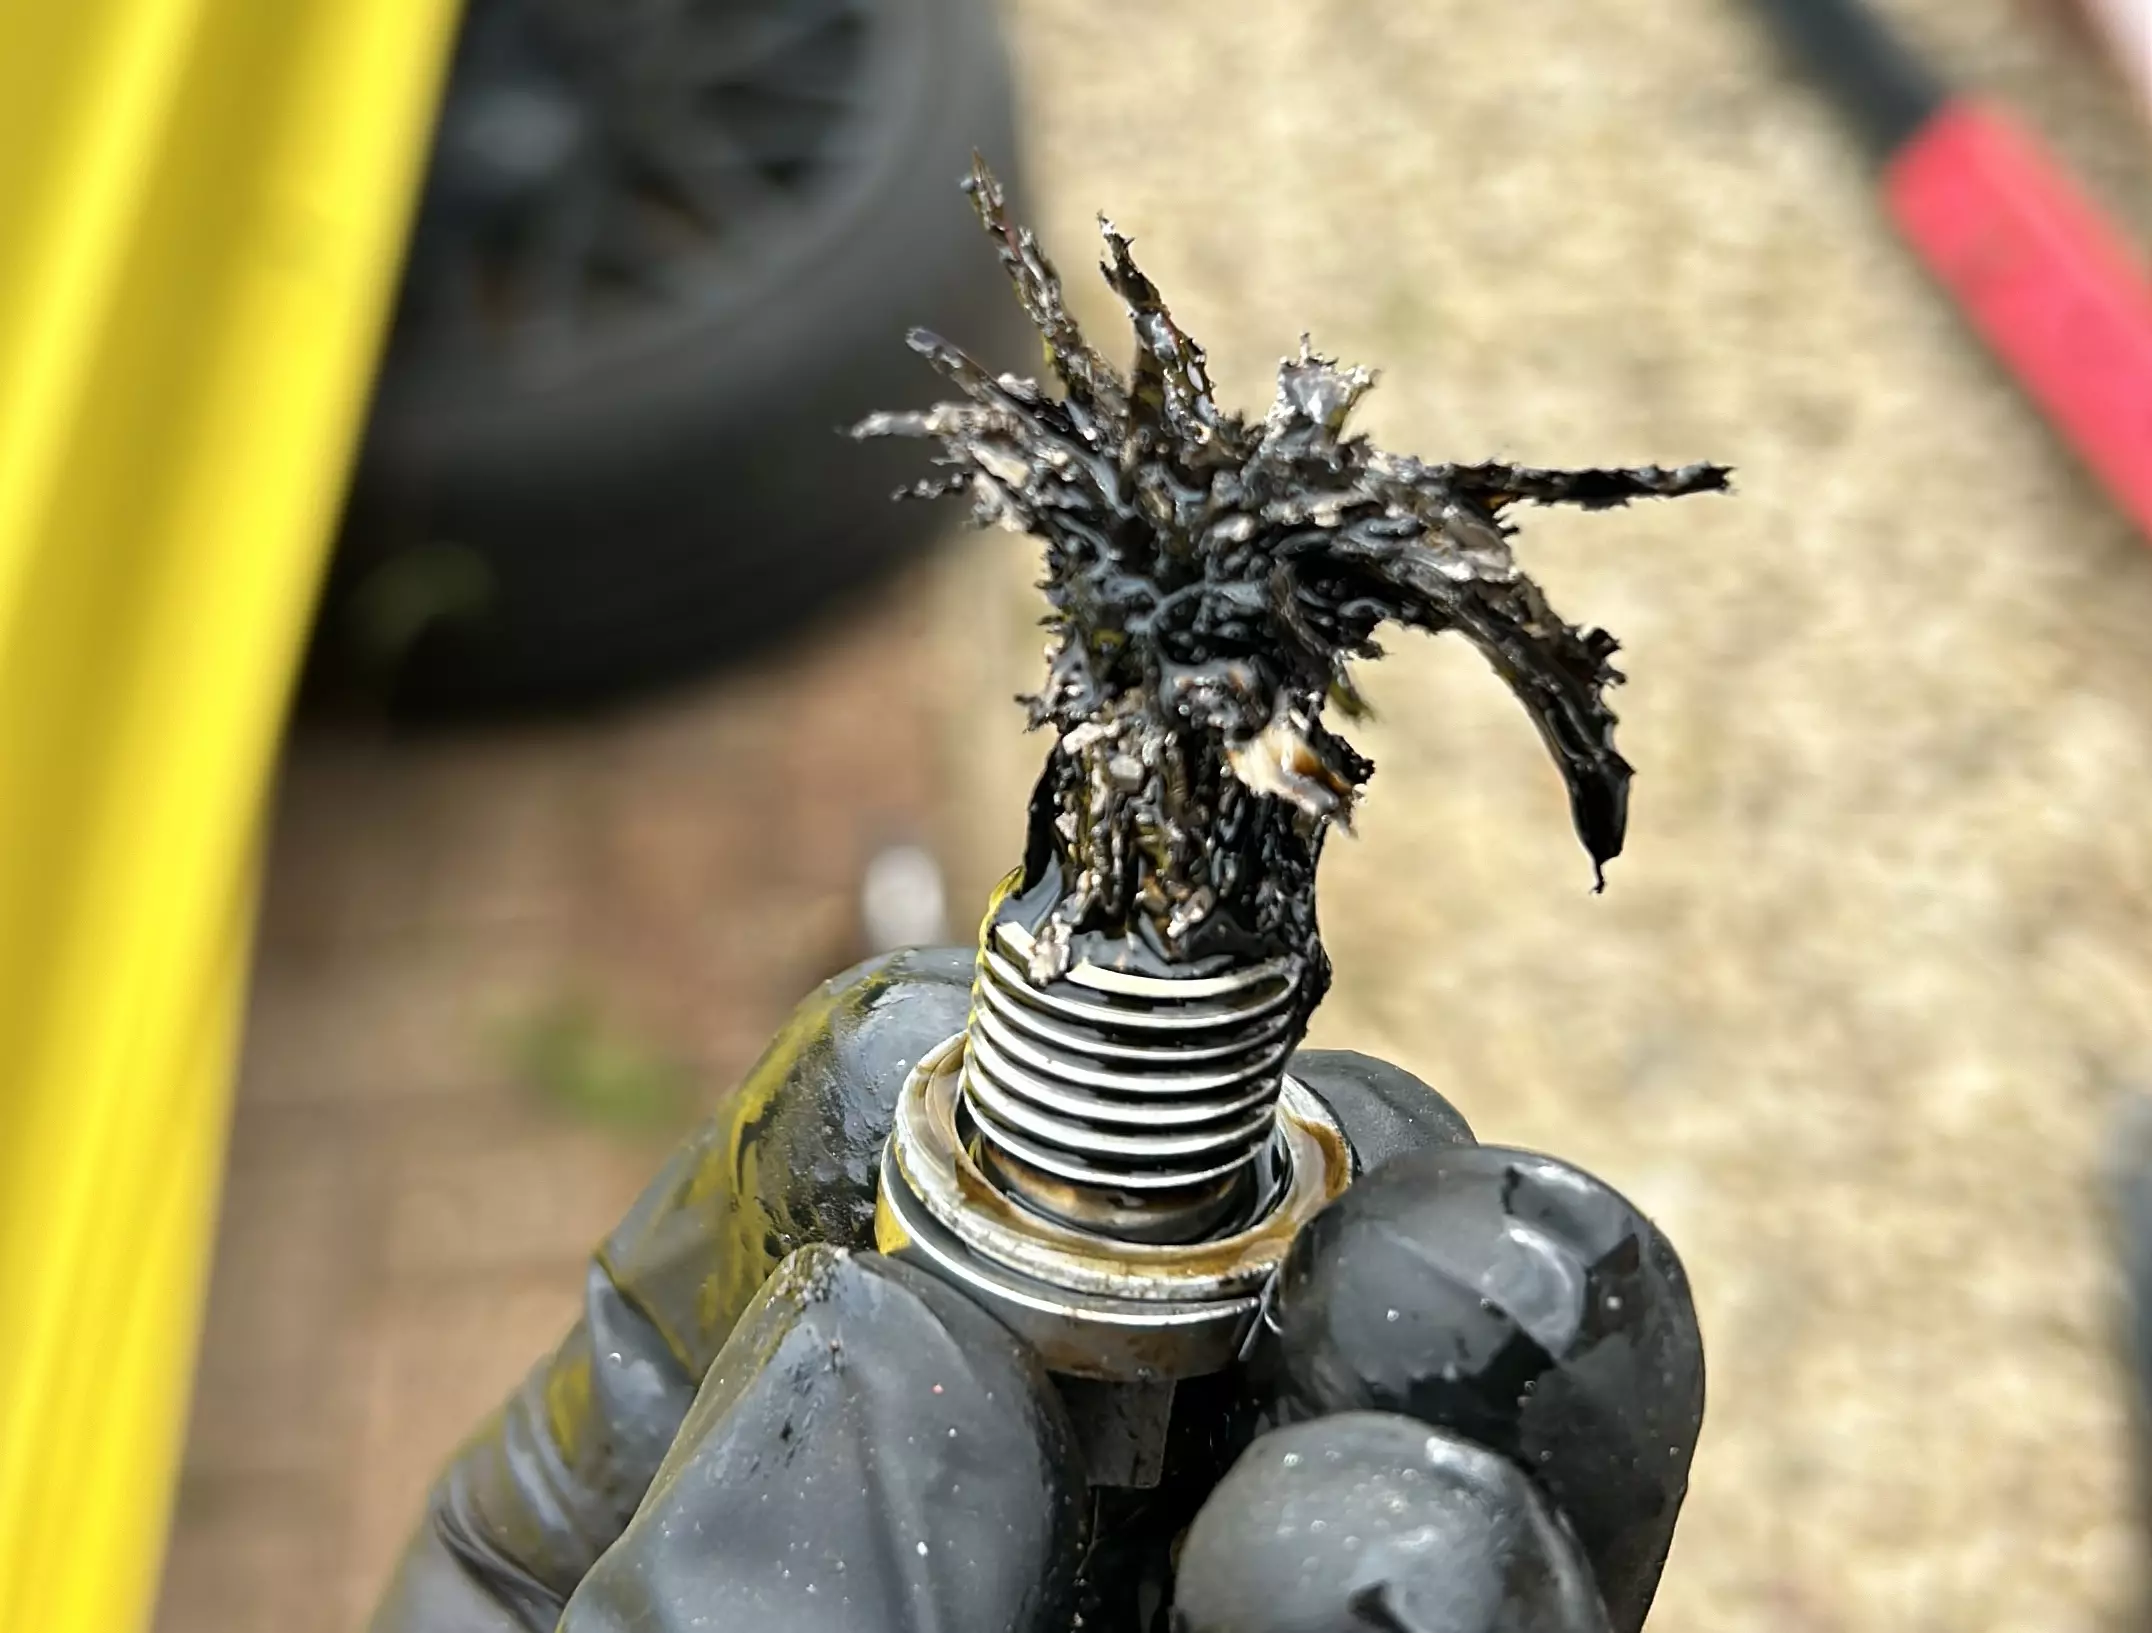
Mike Johnson is a weapons engineer for the military, which means he’s completely happy working with things that go ‘BANG!’. Unfortunately, that’s exactly what the engine in his Honda Civic did, not too long after he’d bought it. And it didn’t go bang in any small way, because Mike discovered a bearing had exited stage left through the engine casing, leaving a large hole in its wake. The starter motor had also got in the way, and had been terminally wounded, too.
Depression set in, and the car sat forlornly on Mike’s driveway for days, weeks, and eventually months. But Mike had also bought himself a Haynes manual, and one day he found himself perusing the section on how to remove and replace the engine. He thought: “I could do that”, so set about acquiring an engine hoist and more importantly, a replacement engine without any extra ventilation in it.

Out with the old engine
Things went well, initially. Mike gradually unbolted everything he needed to, removed the engine undershield, and fabricated engine lifting eyes (there are none on the engine). He’d previously had the air-con gas removed.
Then it was a case of following the procedure in the manual by sitting the car up on axle stands, and lowering the engine to the ground.
As Mike explains: “I then lowered the engine to the ground but because I couldn’t get to the bolts for the exhaust manifold I had left it attached which proved an issue dropping the engine to the floor.
“After quite a few hours trying various different methods I used my jack handle to slightly rotate the engine in the bay to get enough clearance for the manifold and get the engine fully to the floor. I then attached the engine hoist to the main body of the car as per the Haynes manual and lifted it clear of the engine, then because the engine was already damaged I just pushed it out from underneath the car.”

In with the new engine
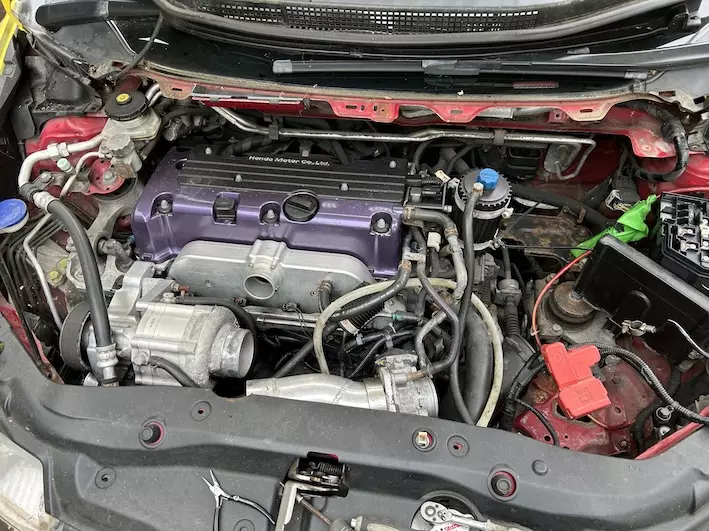
Mike then began to swap vital components from his old engine to his new one, which proved relatively straightforward with both motors sitting on the ground next to each other. As he says: “It was just a case of taking off the old, cleaning and inspecting it and replacing it on the new one.
However, the snugness he’d encountered during the engine-removal process forced him to do things differently during the replacement. Mike says: “The old engine had been supercharged. It is bolted to the front of the engine, which drastically reduced the movement room. Due to that I decided to fit the mounts but not fit the supercharger until the motor was in the car, but the trade off was that the supercharger belt then needed to be fitted once the engine was in the car.
“Another issue I found was removing the old crank pulley. I had an updated one that I wanted to put on, but it took a long time to get the old one off even with the right tools and an impact gun.”
Still, patience paid off, and the new pulley was eventually fitted. With the new starter motor also in place, it was time to put the engine into the car.
Mike faced a problem – how to get the engine underneath the car without damaging it. His initial idea of keeping it on the pallet it was sitting on wouldn’t work, because the legs of engine hoist would get in the way.
But Mike’s an engineer, and engineers love solving problems. And so, Mike borrowed a couple of scaffolding poles from a neighbour, covered them in grease, and managed to slide the engine underneath the car on those.
Then, after a bit of jiggling, the engine was in. Mike filled it with fluids, and turned the key. It ran!
Mike put the wheels back on, lowered it to the ground and got ready to drive it. Except the clutch went all the way to the floor. The system needed to be topped up and bled. So Mike duly raised the car once more and set about getting rid of all the air, a task that would have been easier if he’d had someone to help him.
Mike admits the job wasn’t a quick one: “In total it took four weekends, but that was partly due to waiting for spares and family commitments.”
Nevertheless, he’s pretty chuffed: “Having completed the job, I felt extremely satisfied that I got the job done on my own and the Haynes manual was extremely useful.”

We’d love to hear about your repairs
Mike’s tale of despair, hope, anxiety and finally joy is a one that applies to anyone undertaking a big job on their car. It can be nerve-wracking if you’re inexperienced, but when you get it done and everything works the way it should, then there’s a huge sense of satisfaction.
That’s why we’d love you to show us what you’re working on and how you’re using Haynes to help you out.
Just send us a few details about yourself and your vehicle to yourrepairs@haynes.co.uk
Tell us about any issues you’ve encountered or any problems you foresee, plus a few pictures, and we’ll feature you on our website and social channels.
