
Haynes' World is a regular feature that takes a look at what the staff at Haynes are doing with their vehicles. This time, Rob's found a quick, cheap(ish) fix for foggy plastic headlights.
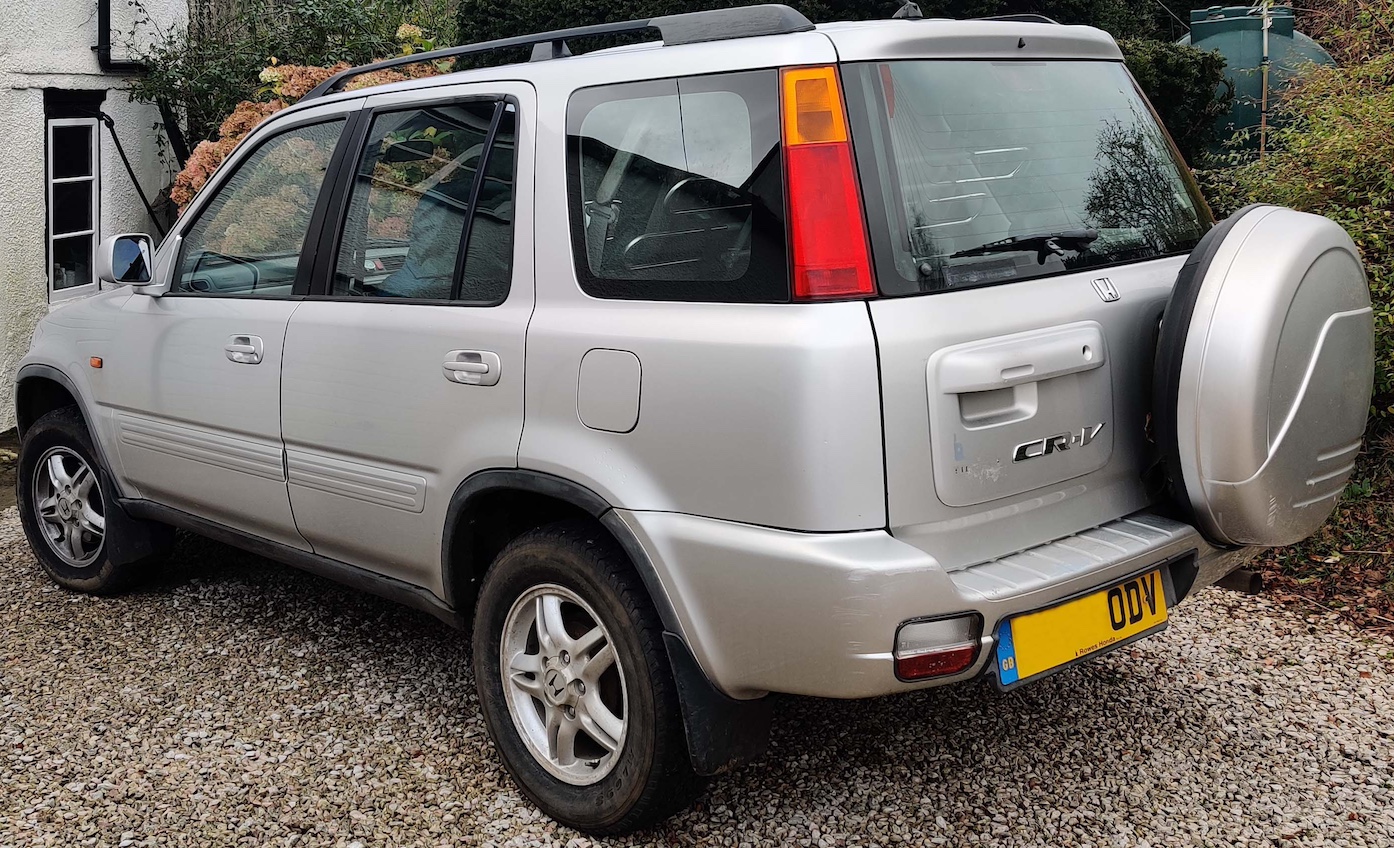
Car: 2000 Honda CR-V
Owner: Rob Keenan
Fact: foggy headlights are an MoT failure. If the tester assesses the intensity of either headlight to be too weak, the vehicle won’t pass the test.
My parents' 25-year-old Mk1 CR-V had been in danger of failing its next test for a while because of this issue, so I packed a few extra bits into my weekend bag in order to sort it once and for all.
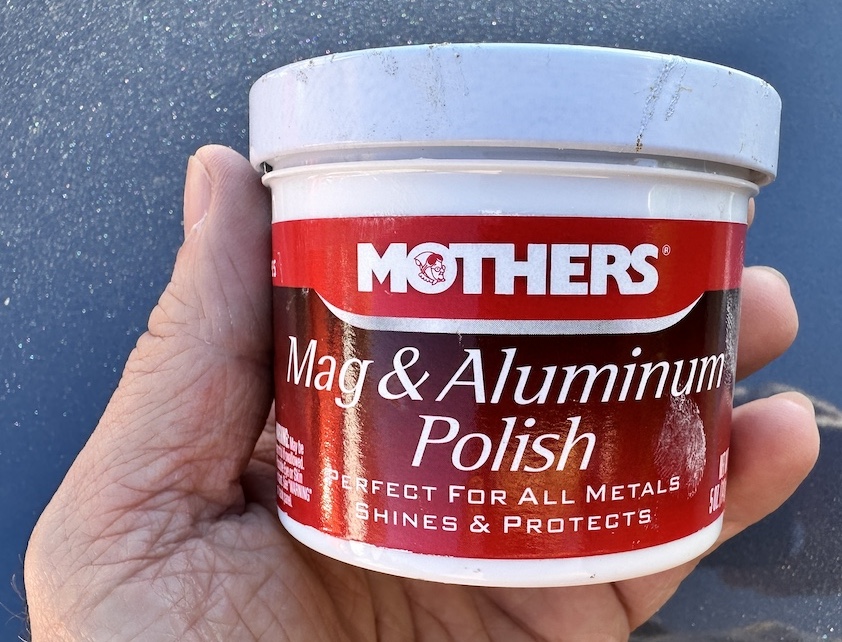
So, in went a few clean cloths, a small tub of Mothers polish and some sealant I found in a headlight restorer kit in my garage.
Cloudy headlights fix
There are plenty of headlight restoration kits out there. You can also try toothpaste, as long as it's the more abrasive 'whitening' variety. But this Mothers polish was a new one on me – I'd come across it in a YouTube video and thought it was too good to be true.
Mothers is a good, thick consistency. I applied it to a dry cloth and worked it into the clean headlight by hand in circular motions (shown below), putting a bit of effort in. I did this for two or three minutes and allowed the polish to dry before buffing it out with another clean cloth.

The result was remarkable. Most, but not all, of the 'fog' had been removed, so I repeated the procedure. This time all of it had gone. There'd been no need for different grades of 'sand' paper or a drill/sander. Just good old-fashioned elbow grease.
I've used a drill before, on a different car, with T-Cut's Headlight Restoration Kit, but didn't really get the result I wanted. That may be because I was worried about applying too much pressure and burning the plastic headlight case. Which, by the way, is what all modern cars have these days – haze wasn't an issue back in the day when car headlight lenses were made of glass.
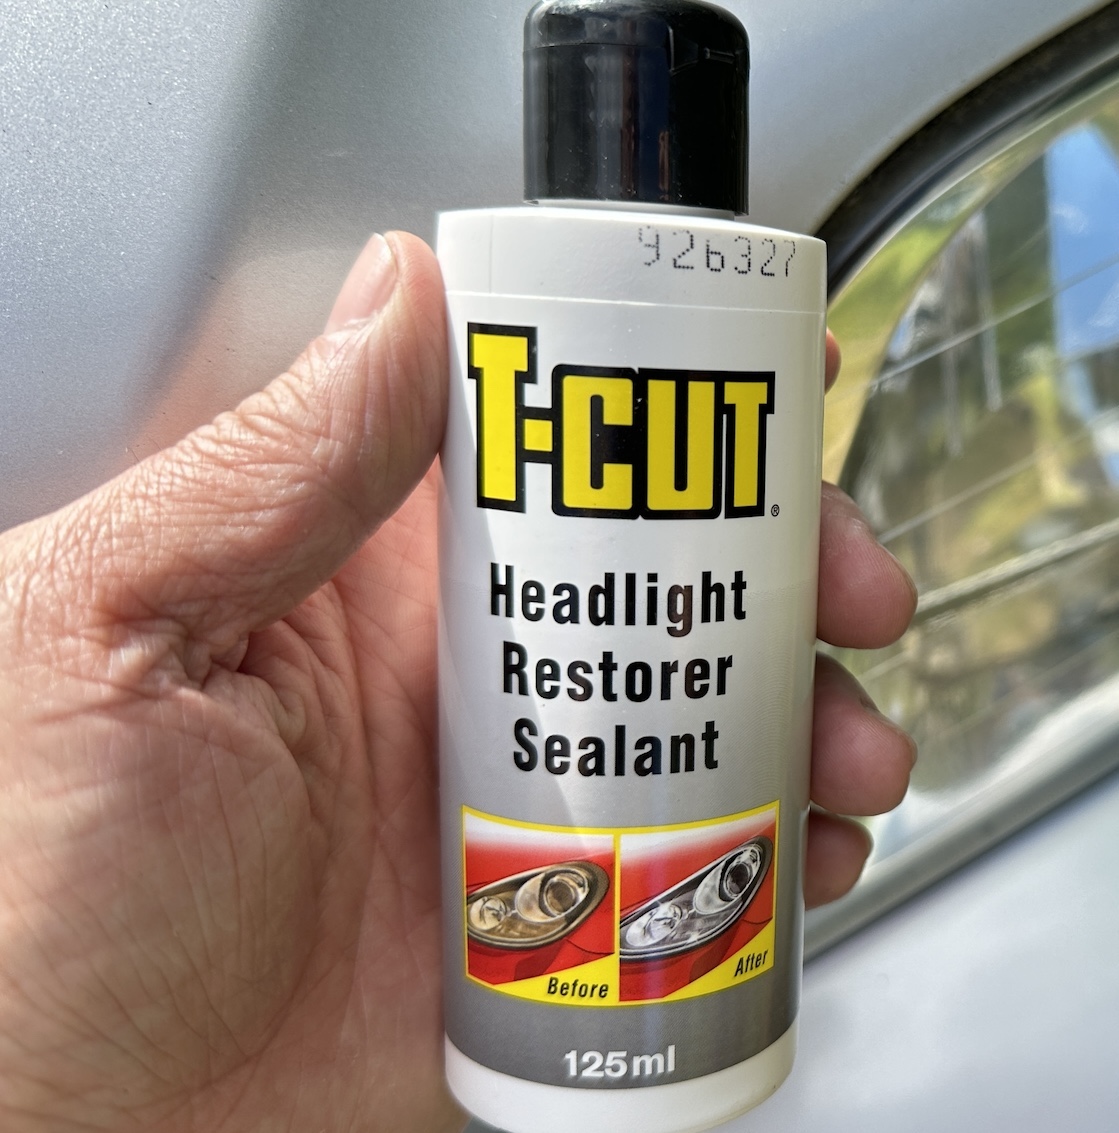
Headlight sealant
The first bit of that T-Cut kit might not have done the trick for me, but I'd kept the bottle of sealant. Once you've removed the headlamp fog you need to apply some form of UV protection to prevent the haze from returning for as long as possible.
So, out came another clean cloth, onto which the clear liquid was poured. The bottle didn't say what was in it, and it didn't smell of anything, but I applied it generously to each headlight, allowed it to dry and buffed it off.

And this is the result. A nice, clear headlight that'll make the car safer to use at night and help it to sail through the next MoT test.
Just one caveat: Mothers isn't promoted as a headlight restorer, so don't go mad with it and consider masking off the surrounding paintwork. Apply it by hand, buff it off and repeat as necessary, as I did.