
Learning how to tie a spade end hook is an essential angling skill, but it is one that lots of anglers struggle with due to the size of the hook and the fiddly knot. As a general rule spade end hooks are available in smaller sizes and they’re made of finer, lighter wire than the majority of eyed hook patterns.
This means the ability to tie and use spade end hooks massively aids your fishing performance as you can create more delicate rigs that are better when times are tough or you’re fishing for smaller species like roach and skimmer bream. Follow these step-by-step instructions and you’ll soon be tying knots like a professional…
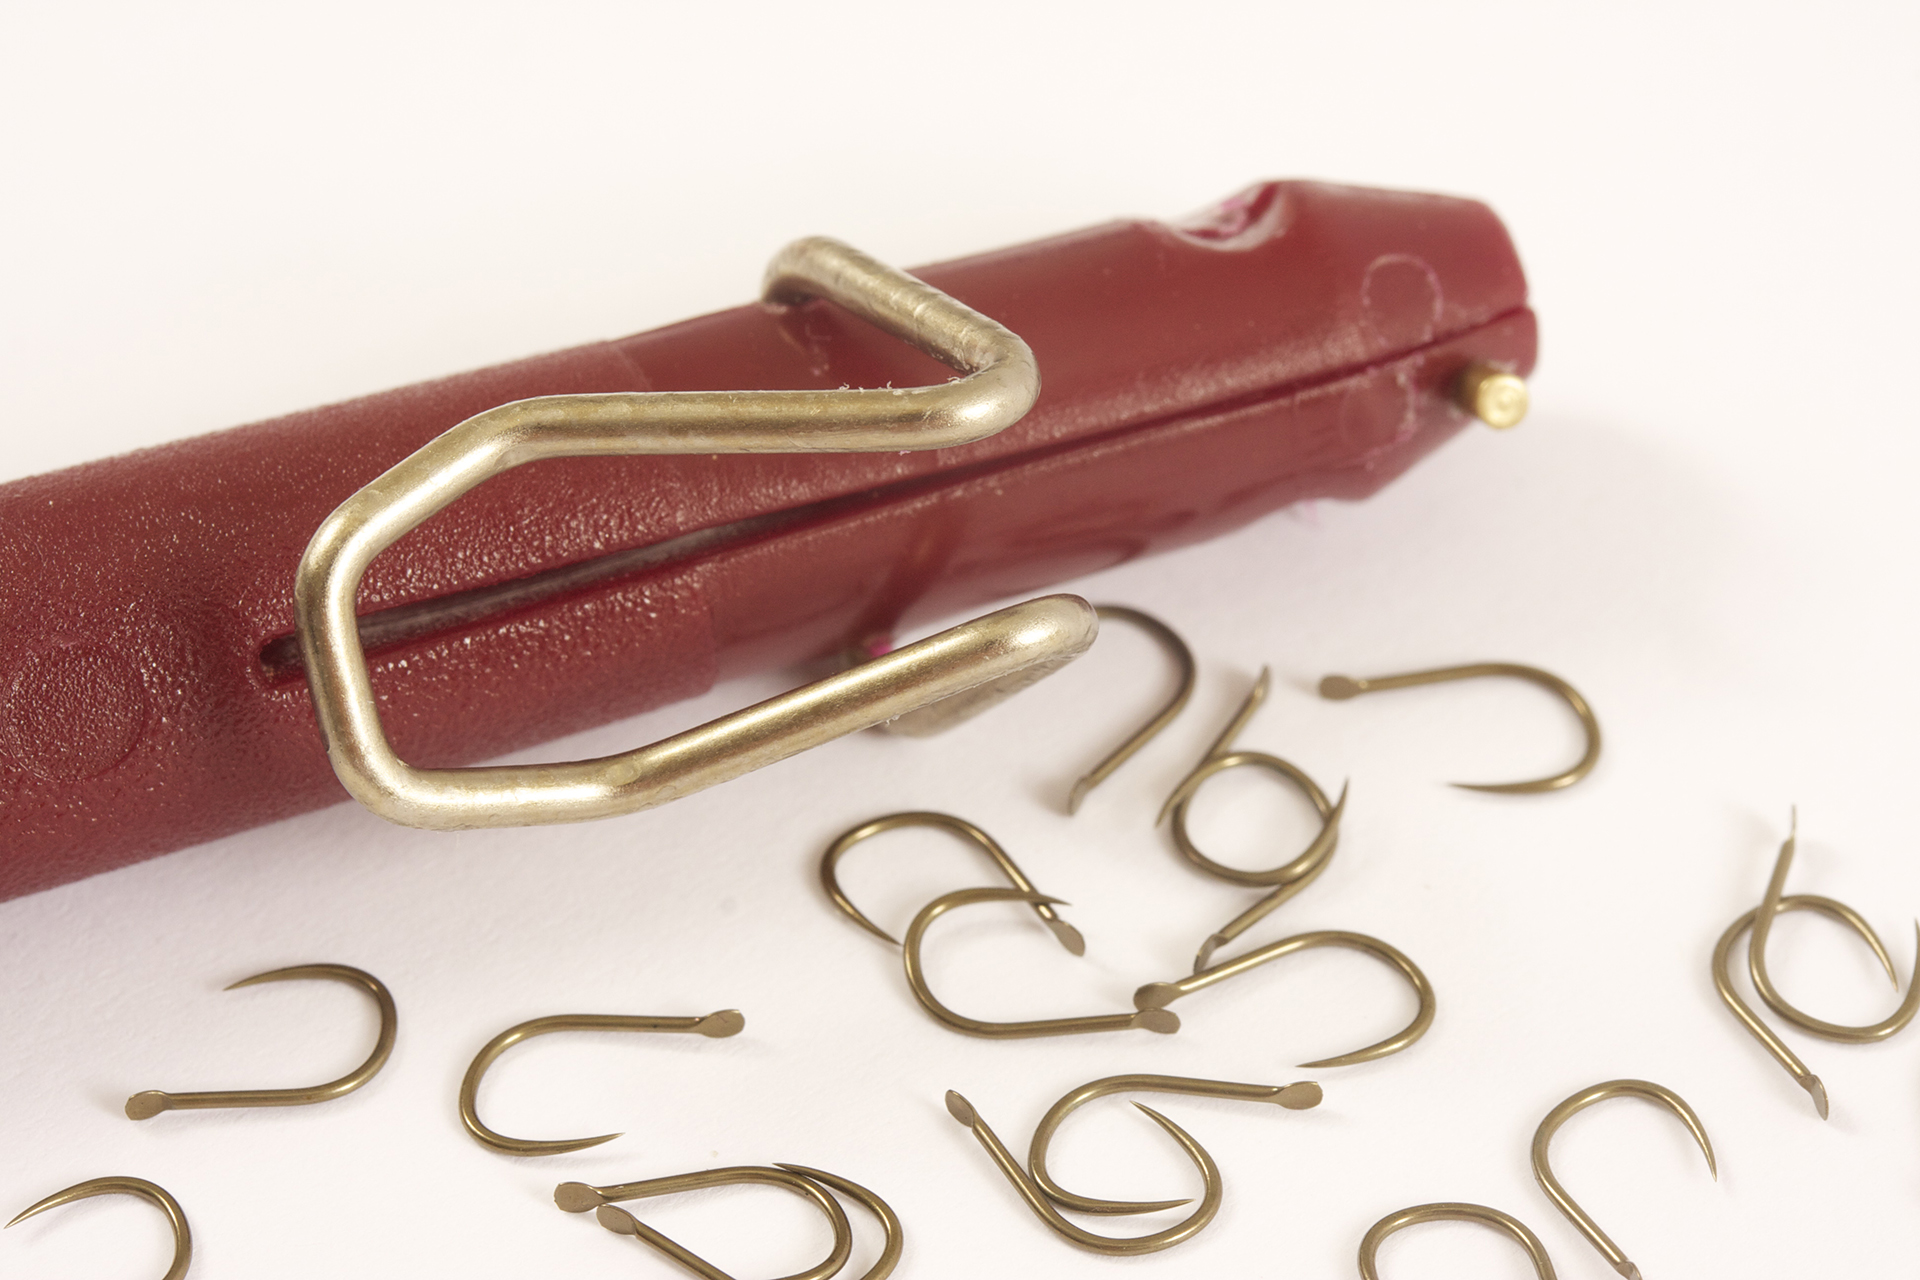
Step 01
We used a Drennan Hook Tyer (the maroon coloured one) to tie my spade end hooks. It creates a perfect finish every time.
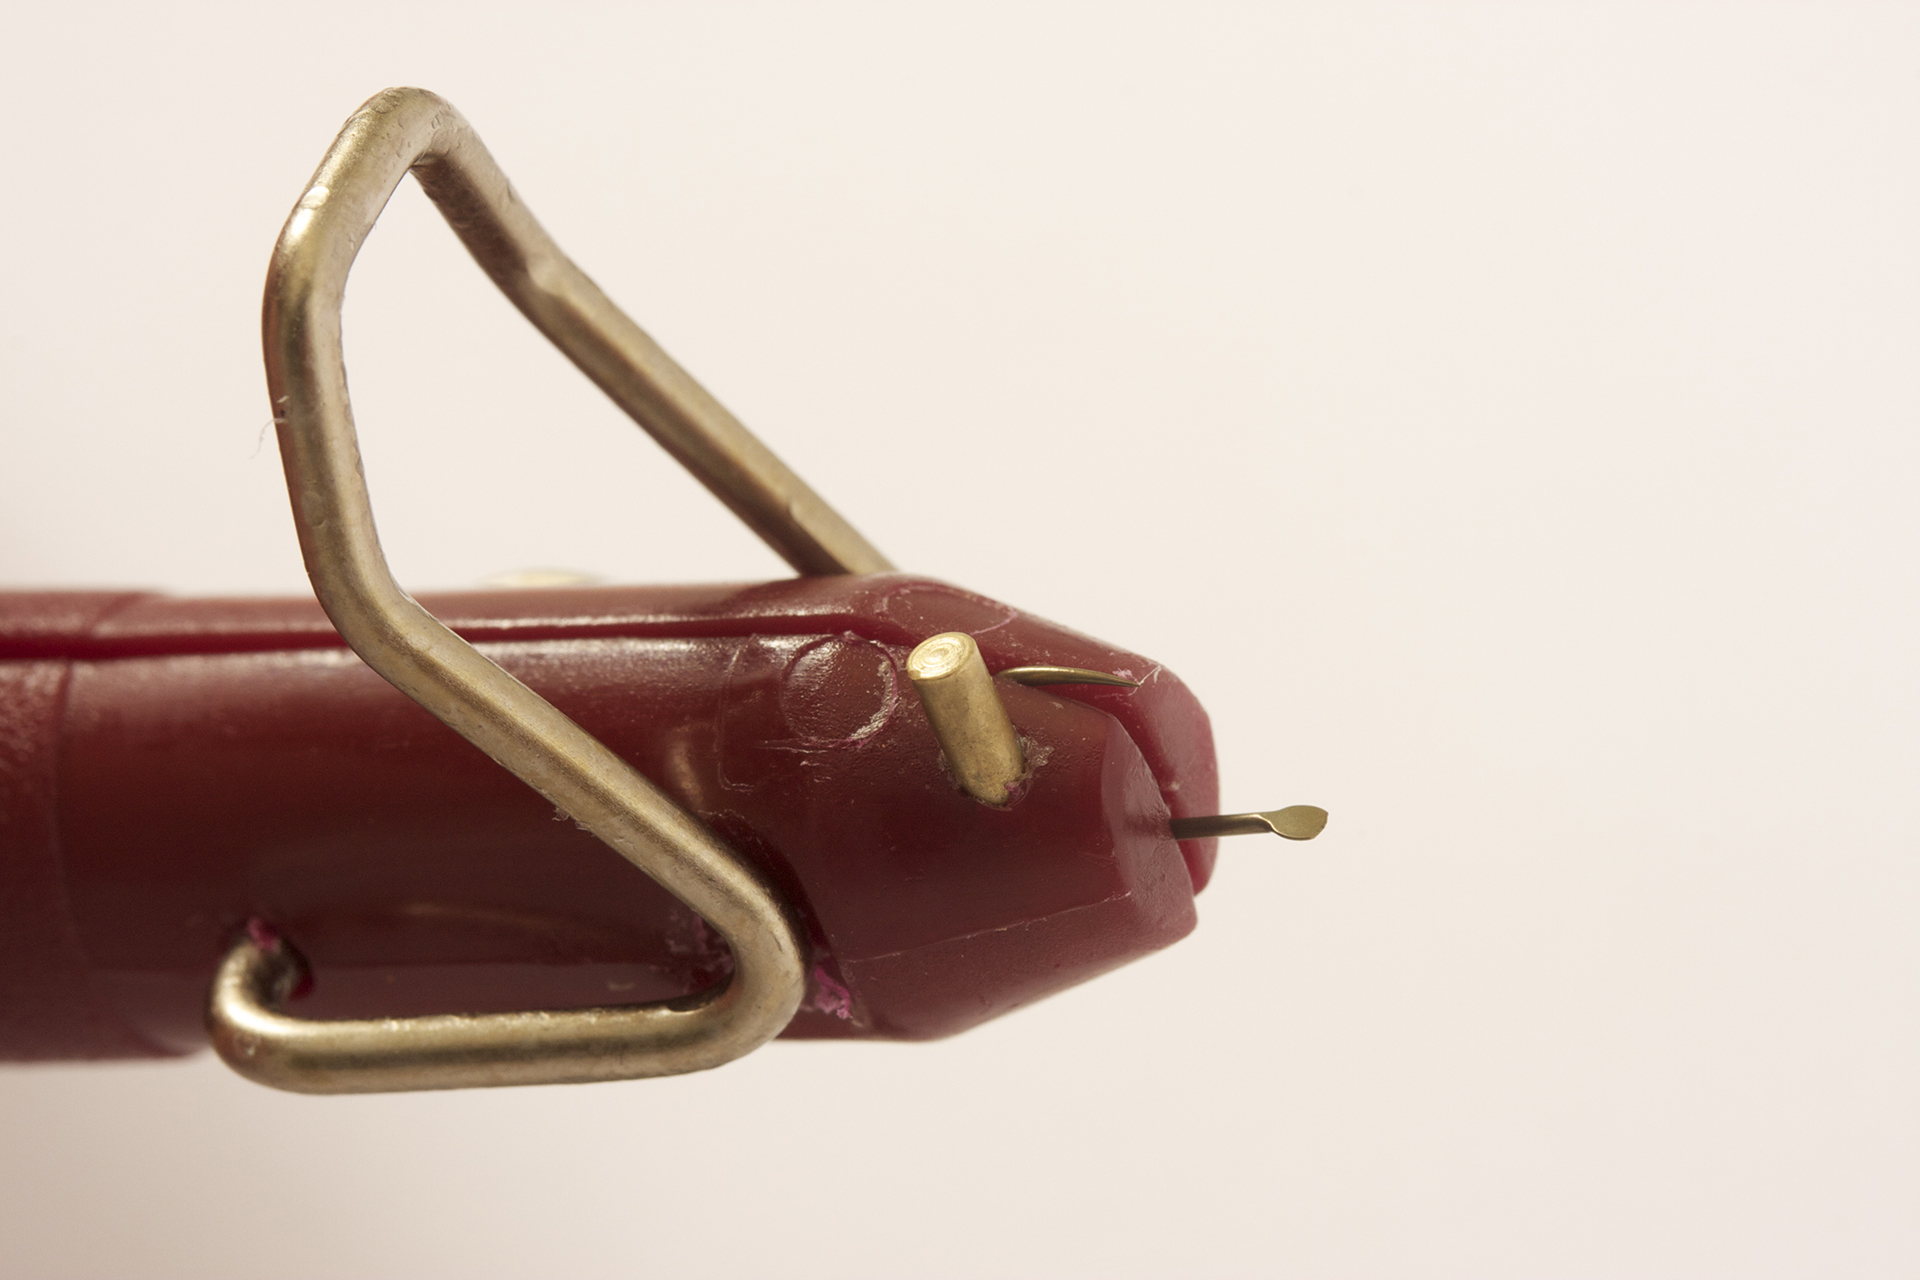
Step 02
Clamp the hook in the jaws ensuring the front of the spade faces towards the metal lever.
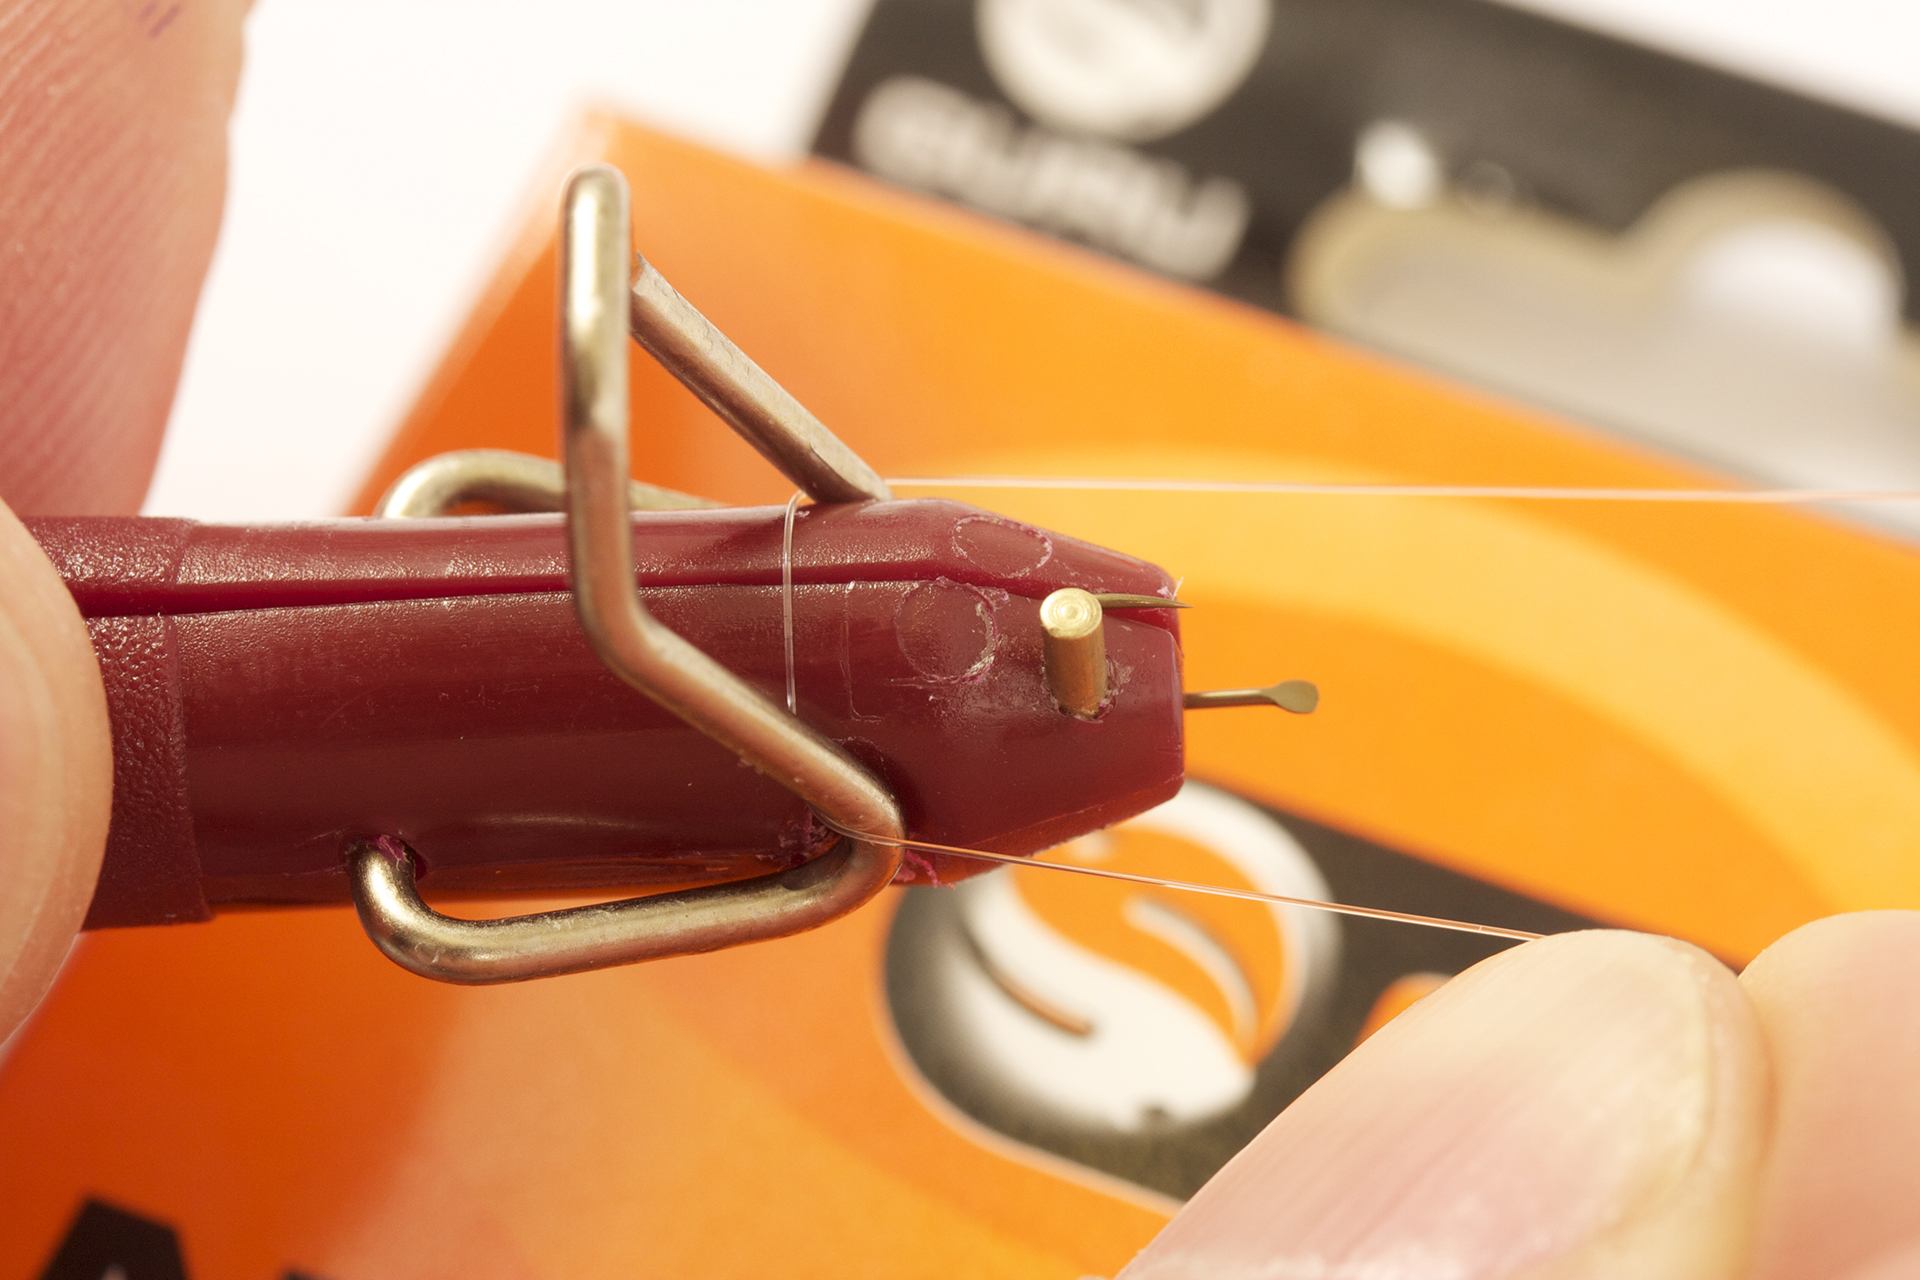
Step 03
Hold the tyer in your left hand and thread the line around the lever in an anti-clockwise fashion.
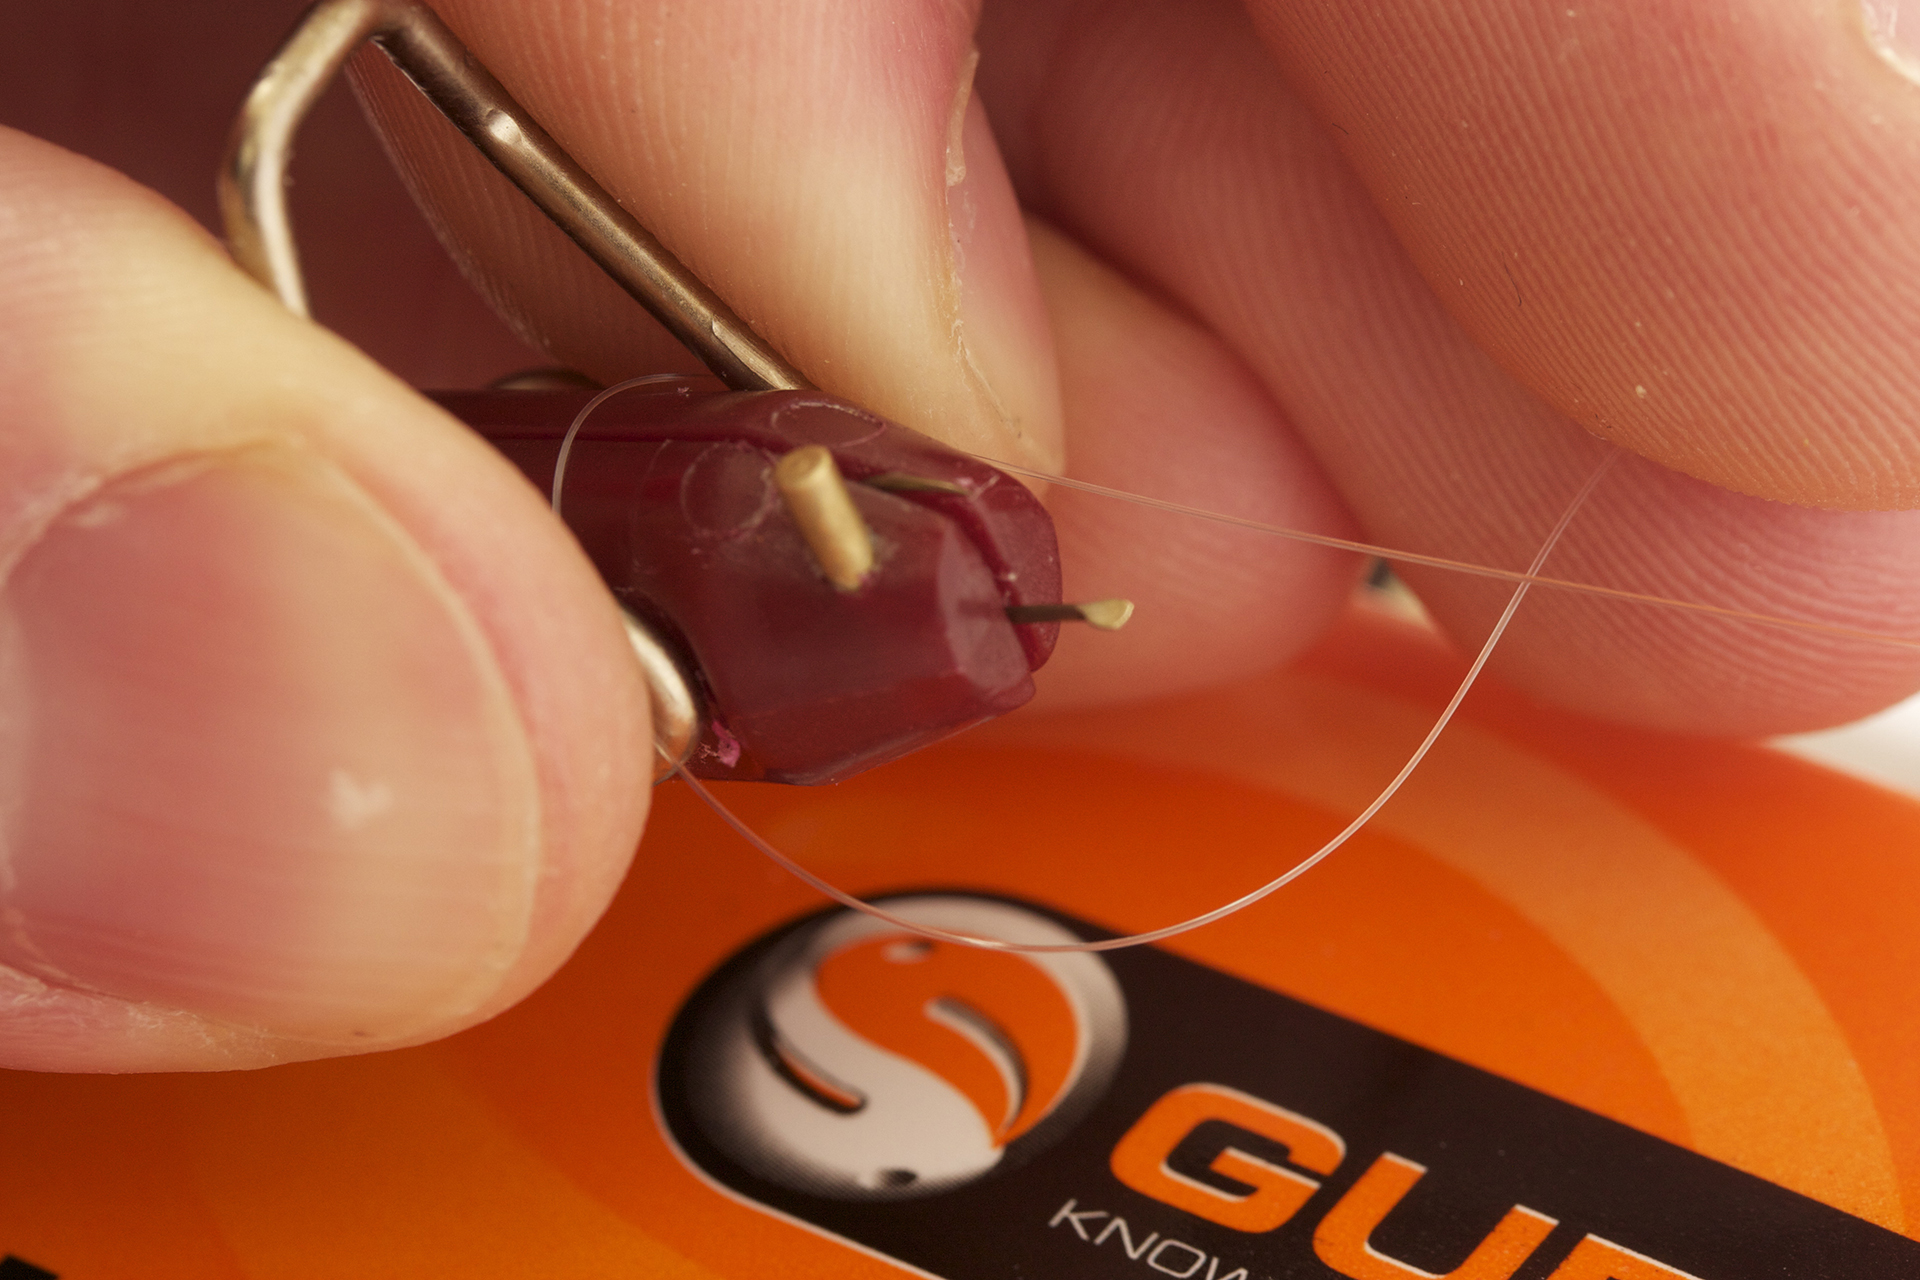
Step 04
Trap the line against the tyer in your left hand and pass the end of the line (tag) underneath the other piece of line.

Step 05
Make one anti-clockwise revolution of the hook tyer and ensure the line sits as shown, butting up against the spade.
Step 06
Once you have this crucial part correct, continue to rotate the hook tyer anti-clockwise to form the rest of the turns (12 in total).
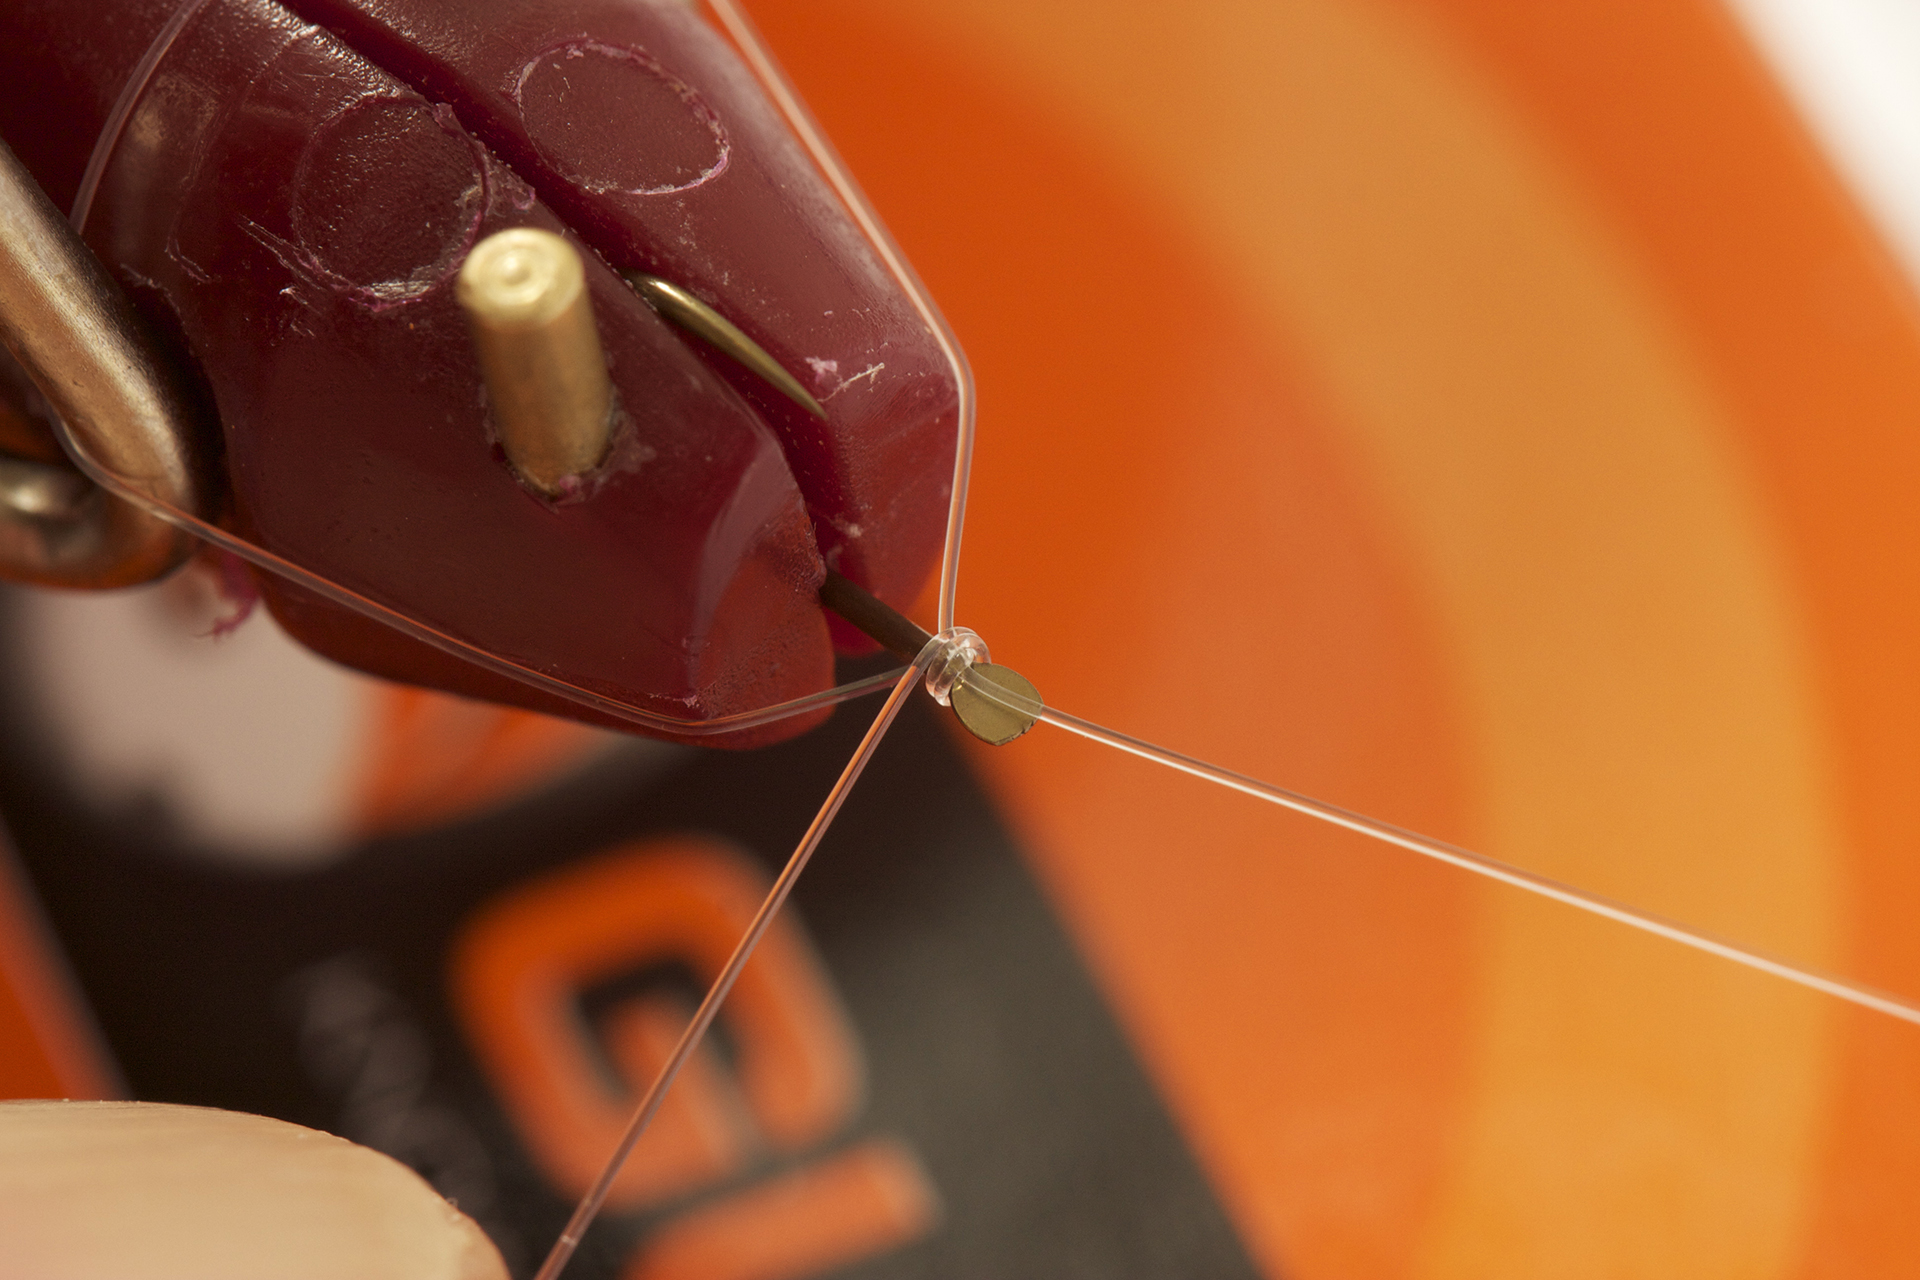
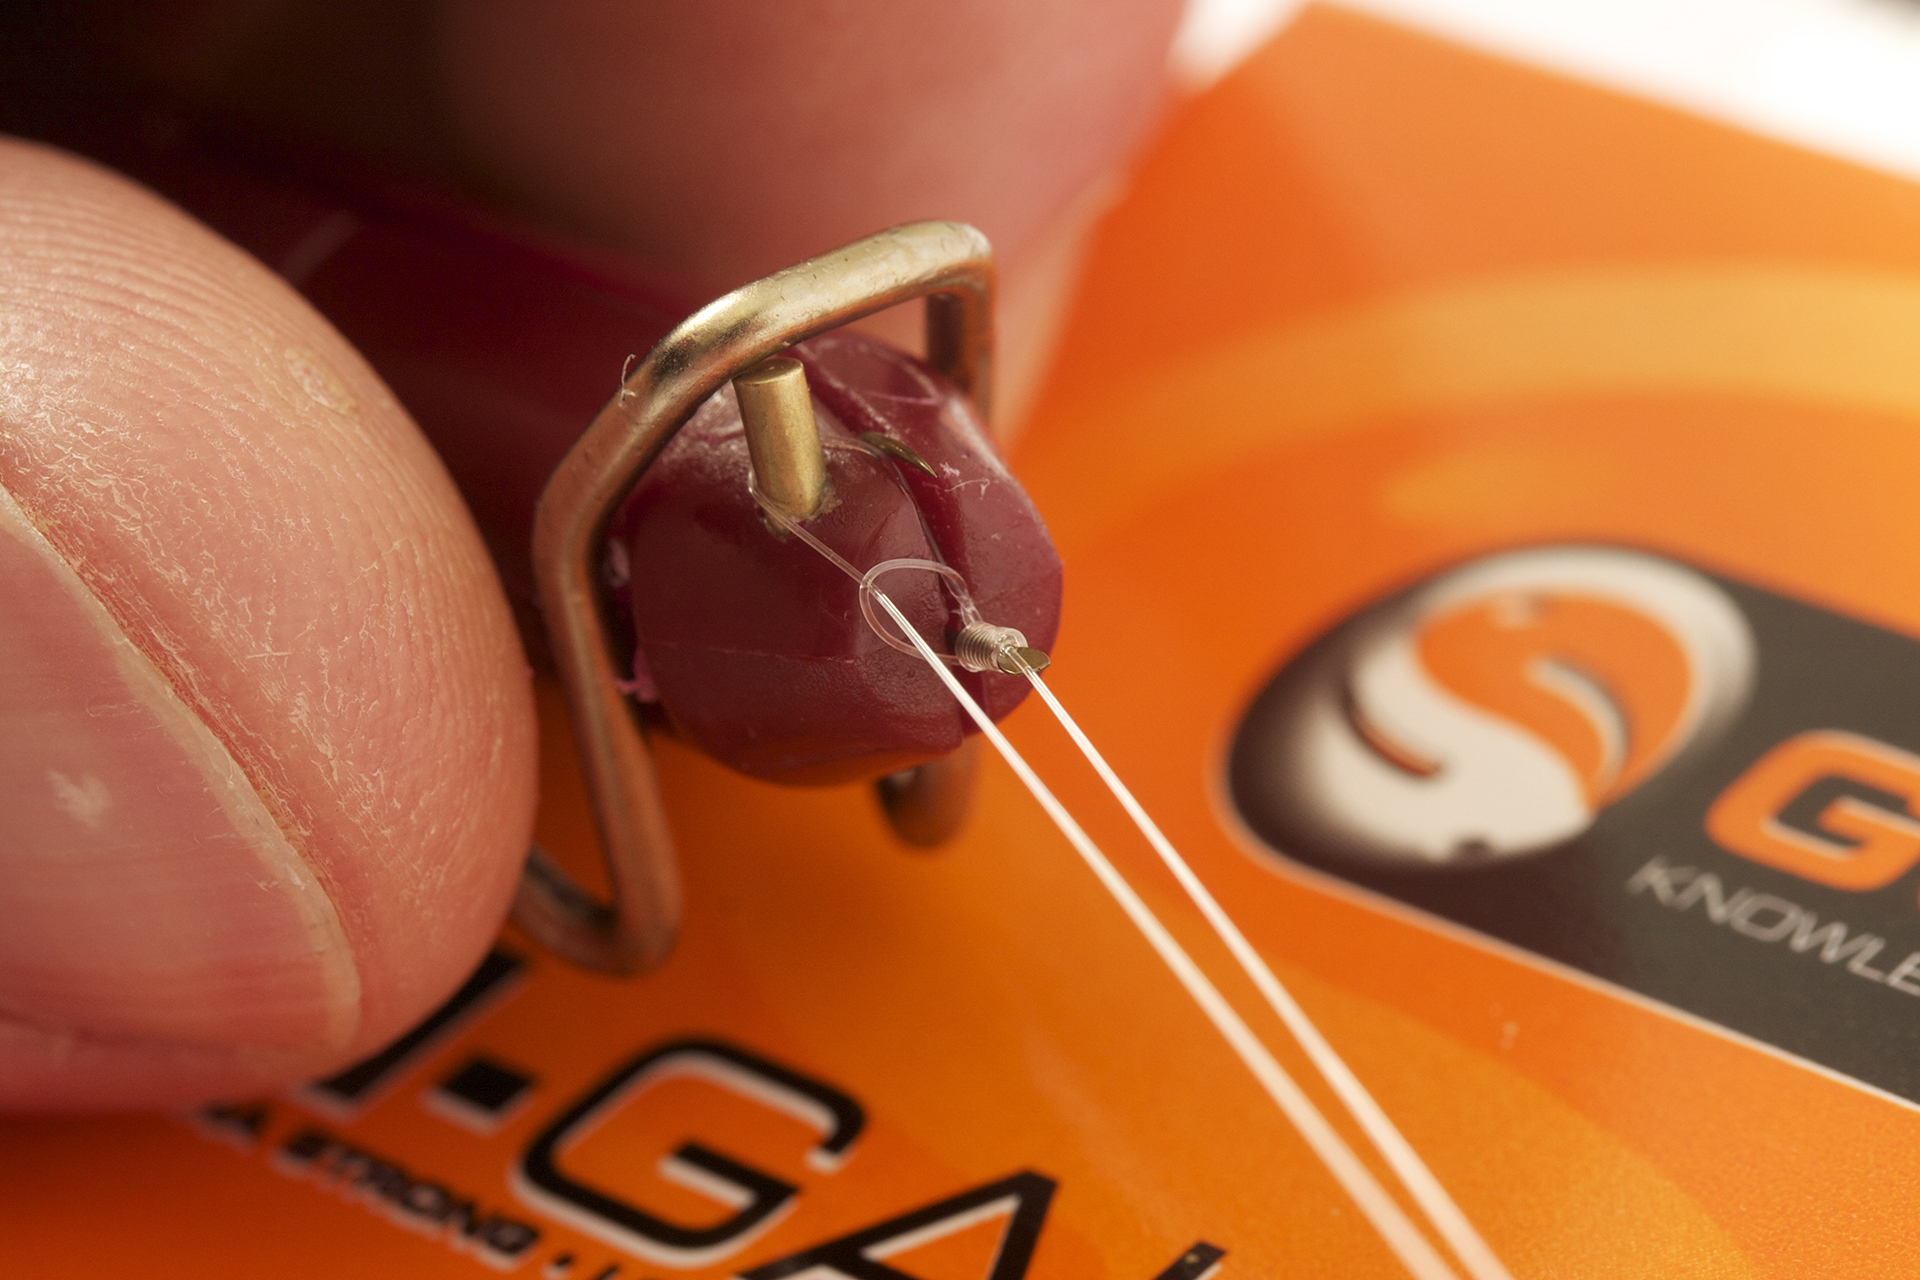
Step 07
Loop the tag end of the line (the part in your right hand) over the gold pin on the hook tyer.
Step 08
Hold everything tight and push the metal lever forward with your left thumb.
Step 09
The line will loop off the metal lever as shown. Make sure you still hold everything tight.

Step 10
Pull the main part of the line (not the tag) and the loop will begin to close.
Step 11
Keep pulling the main part of the line until it closes the knot at the base of the whipping

Step 12
The tag of line will still be around the gold pin.

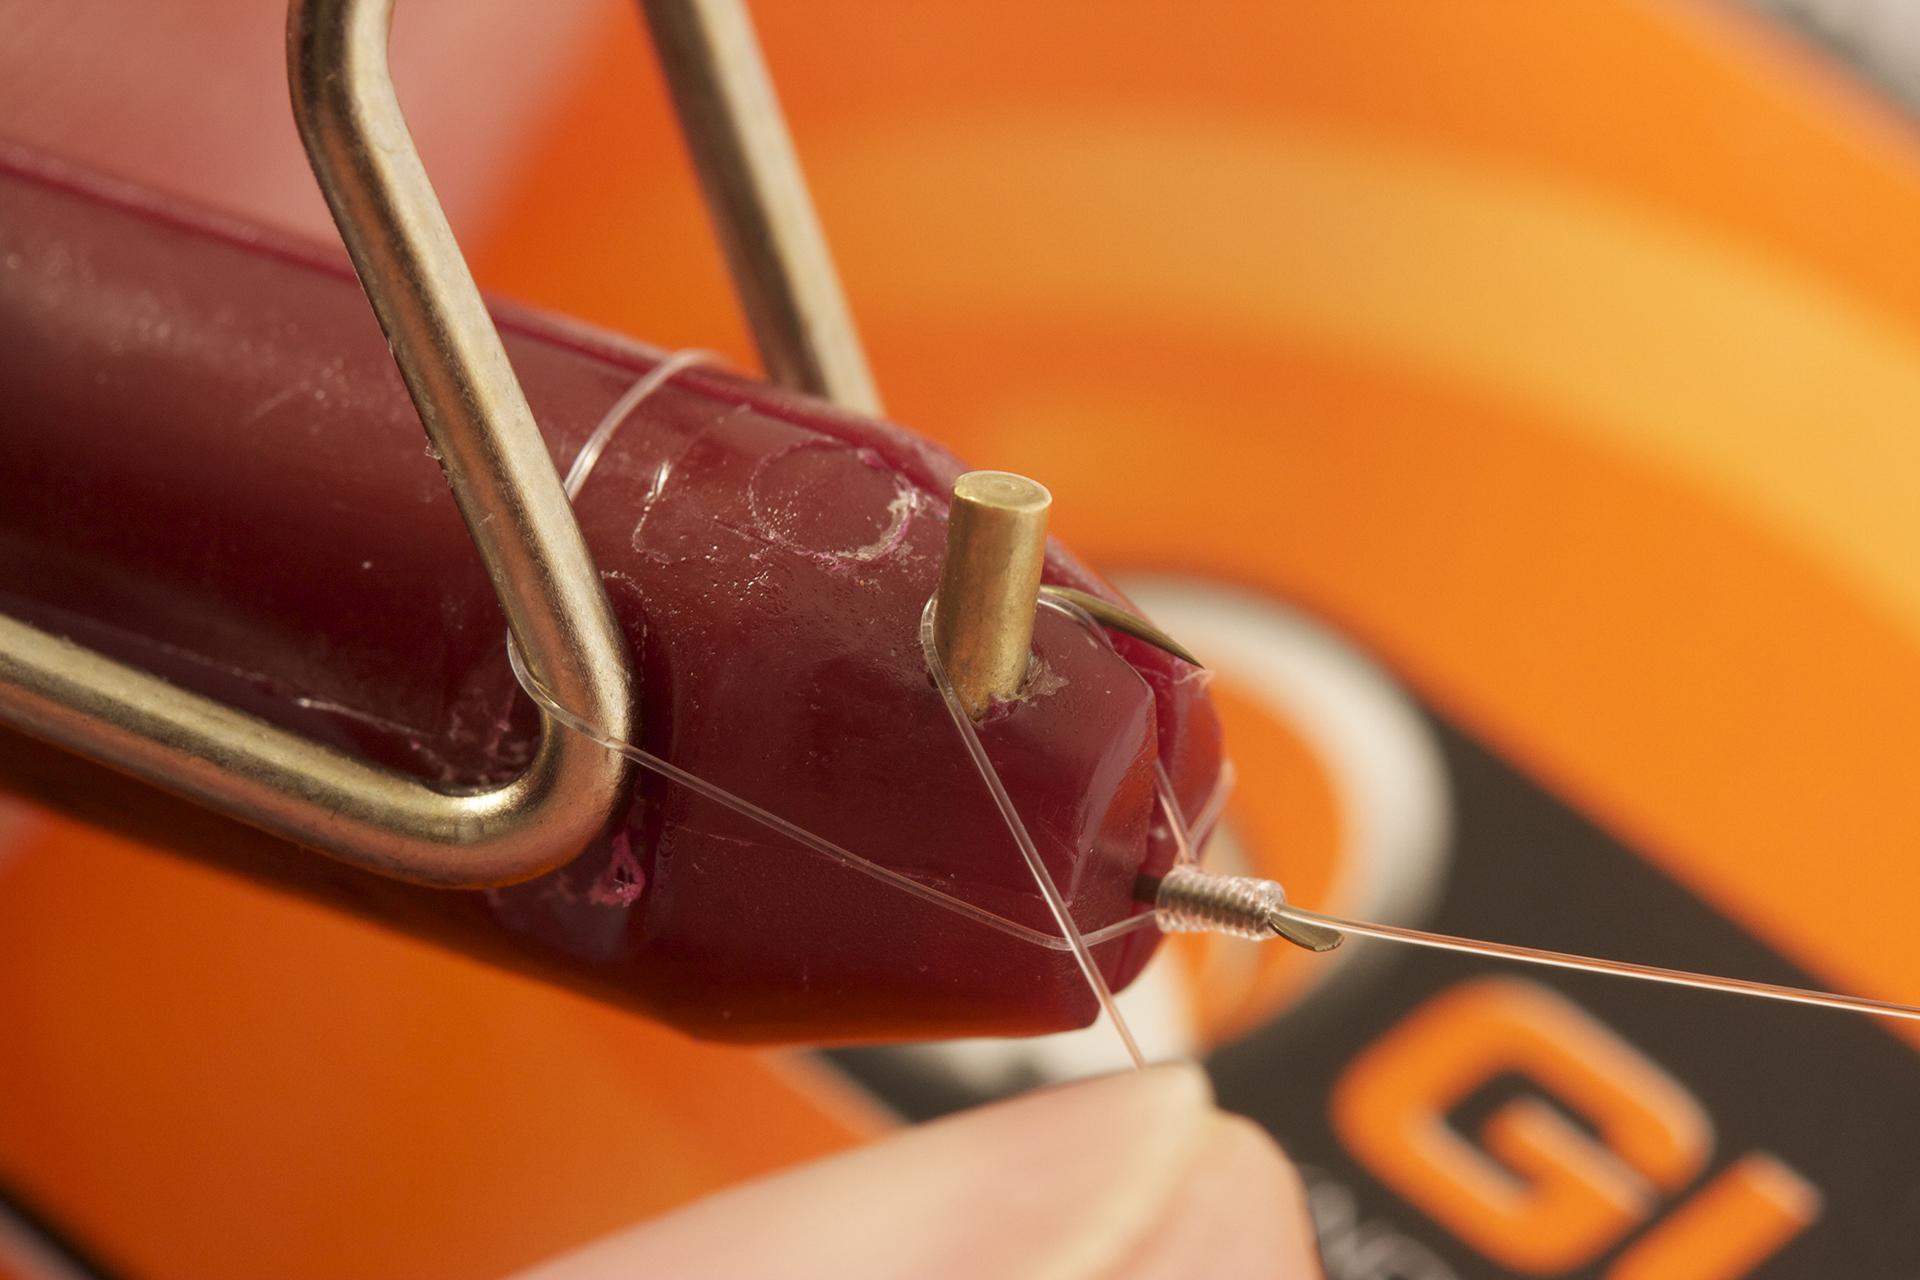
Step 13
Pull back the metal lever to release the hook from the jaws. Ensure the line is around the gold pin as you do this.

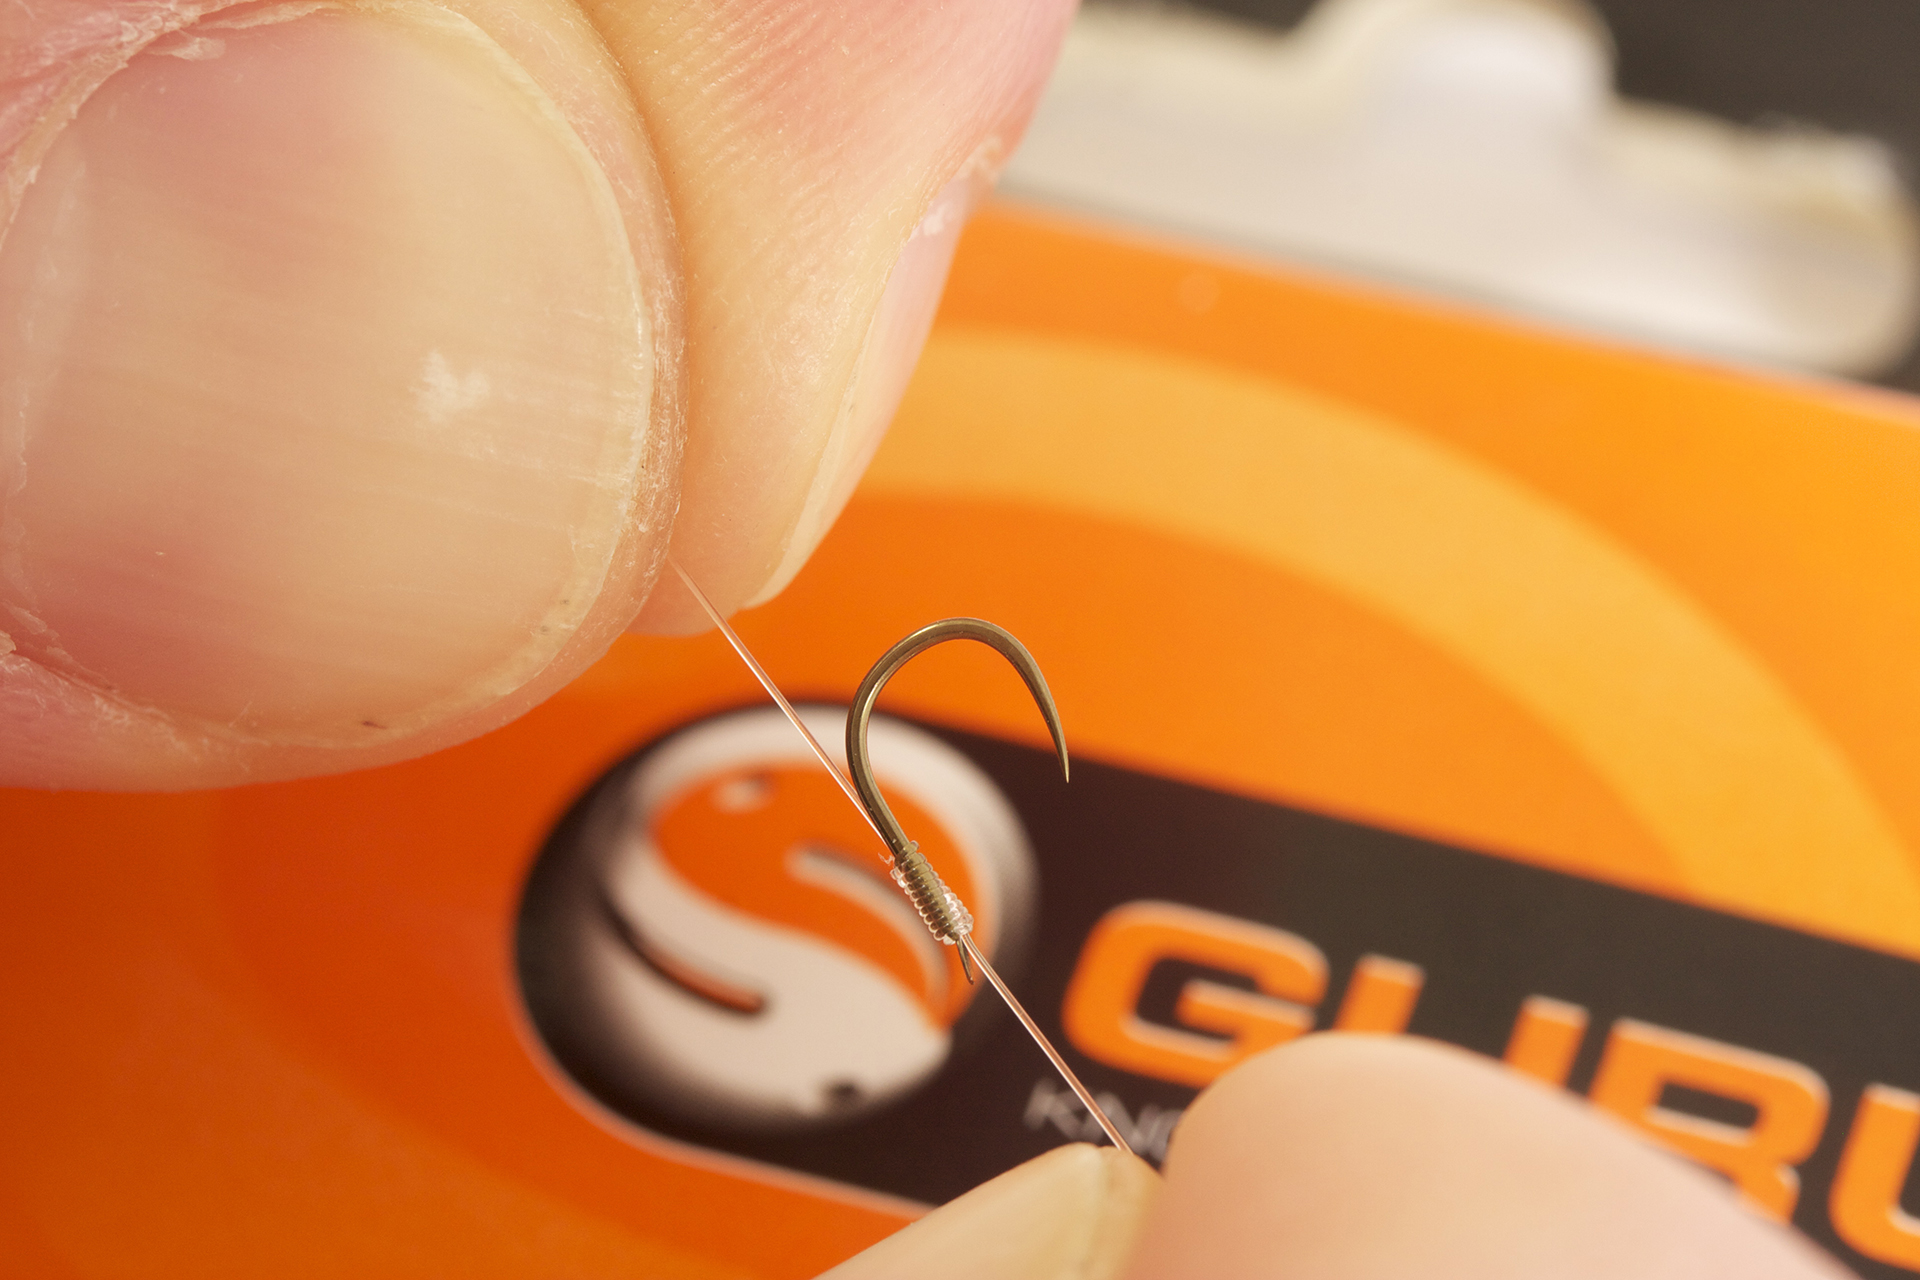
Step 14
The gold pin will pull the line back through the whipping loop you have created to finish the knot.
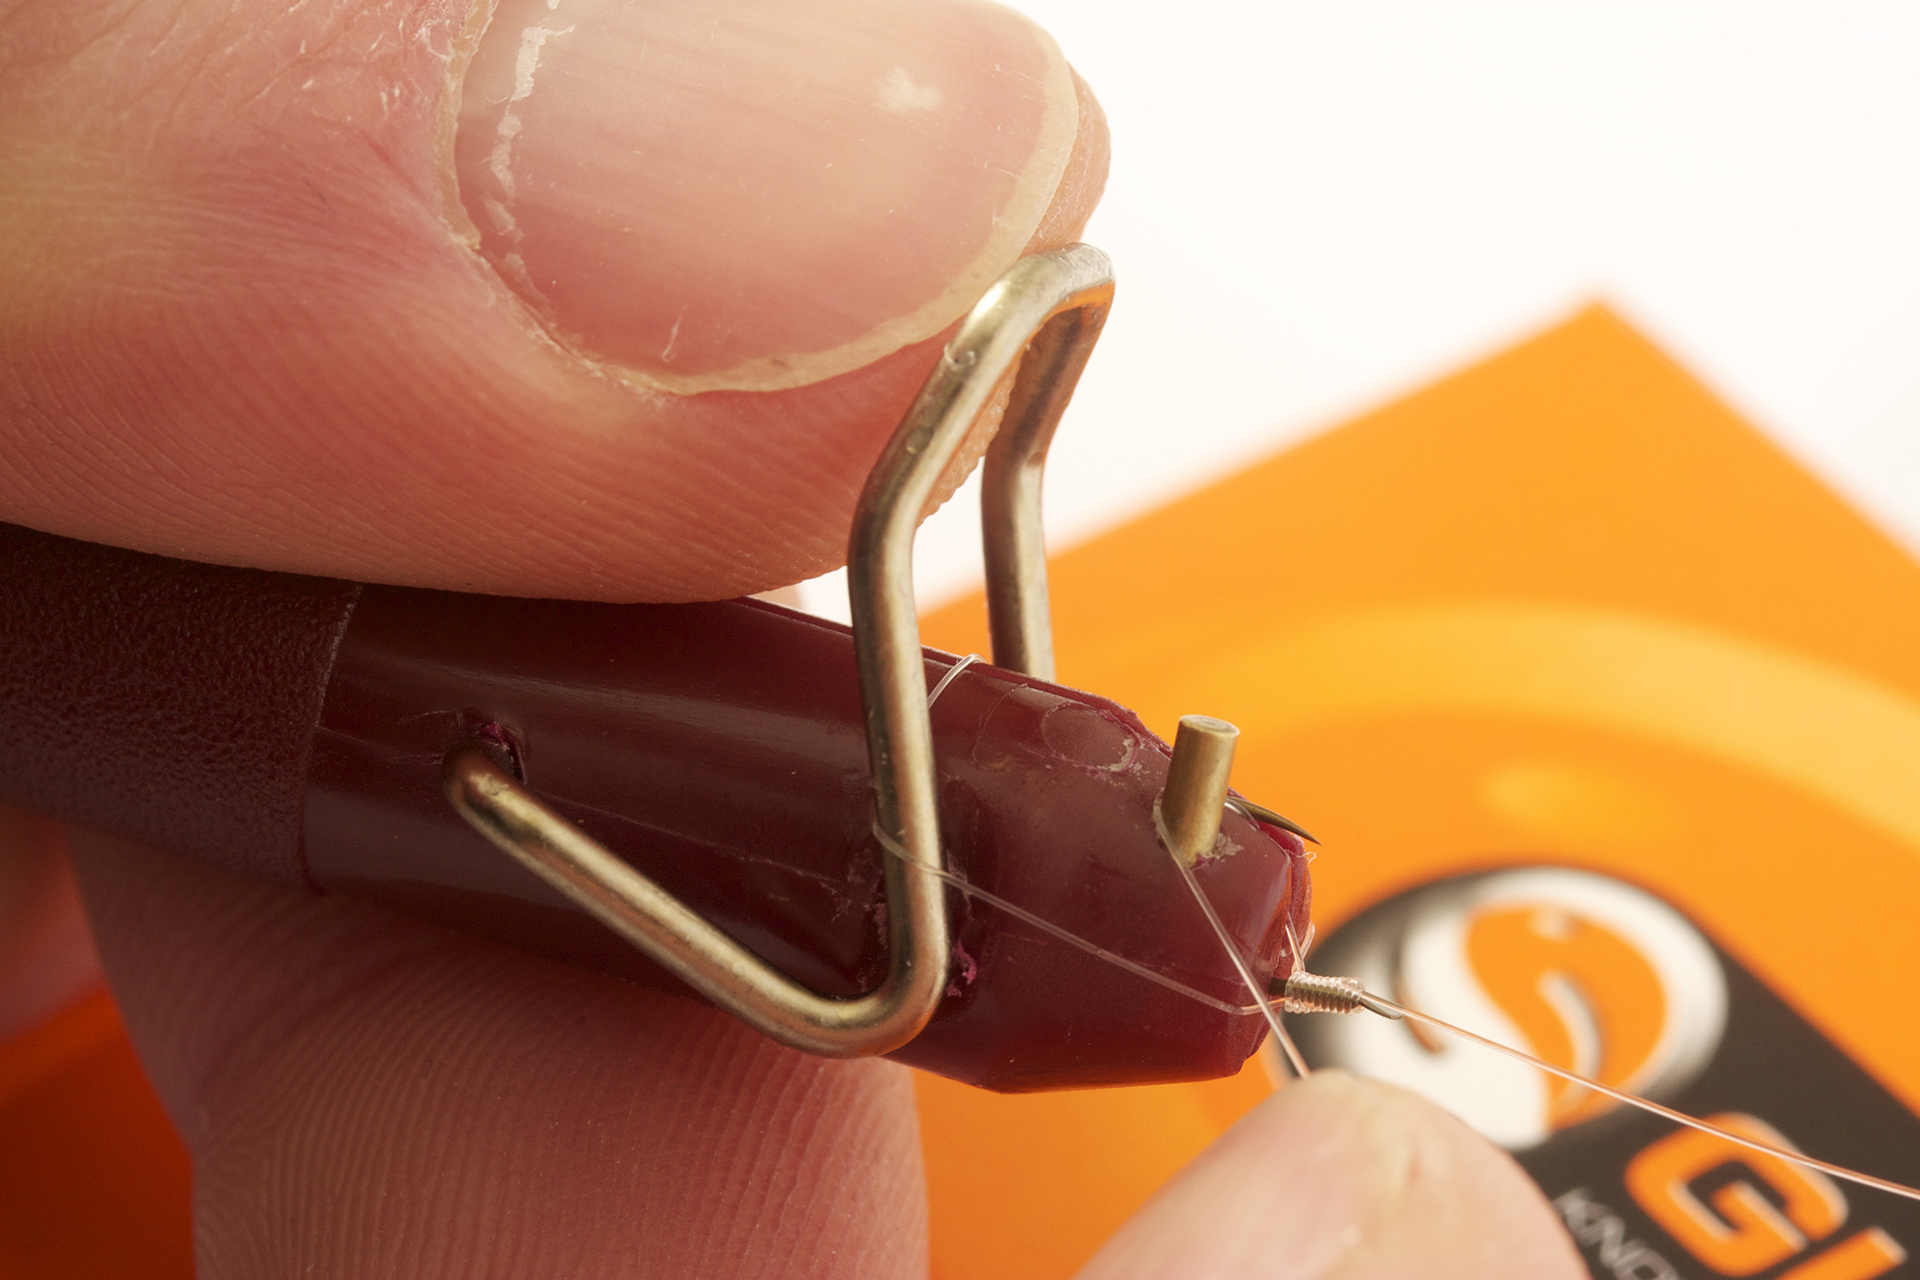
Step 15
Now gently pull tight between thumb and forefinger on each hand and hold for several seconds so the knot can ‘bed down’ properly.
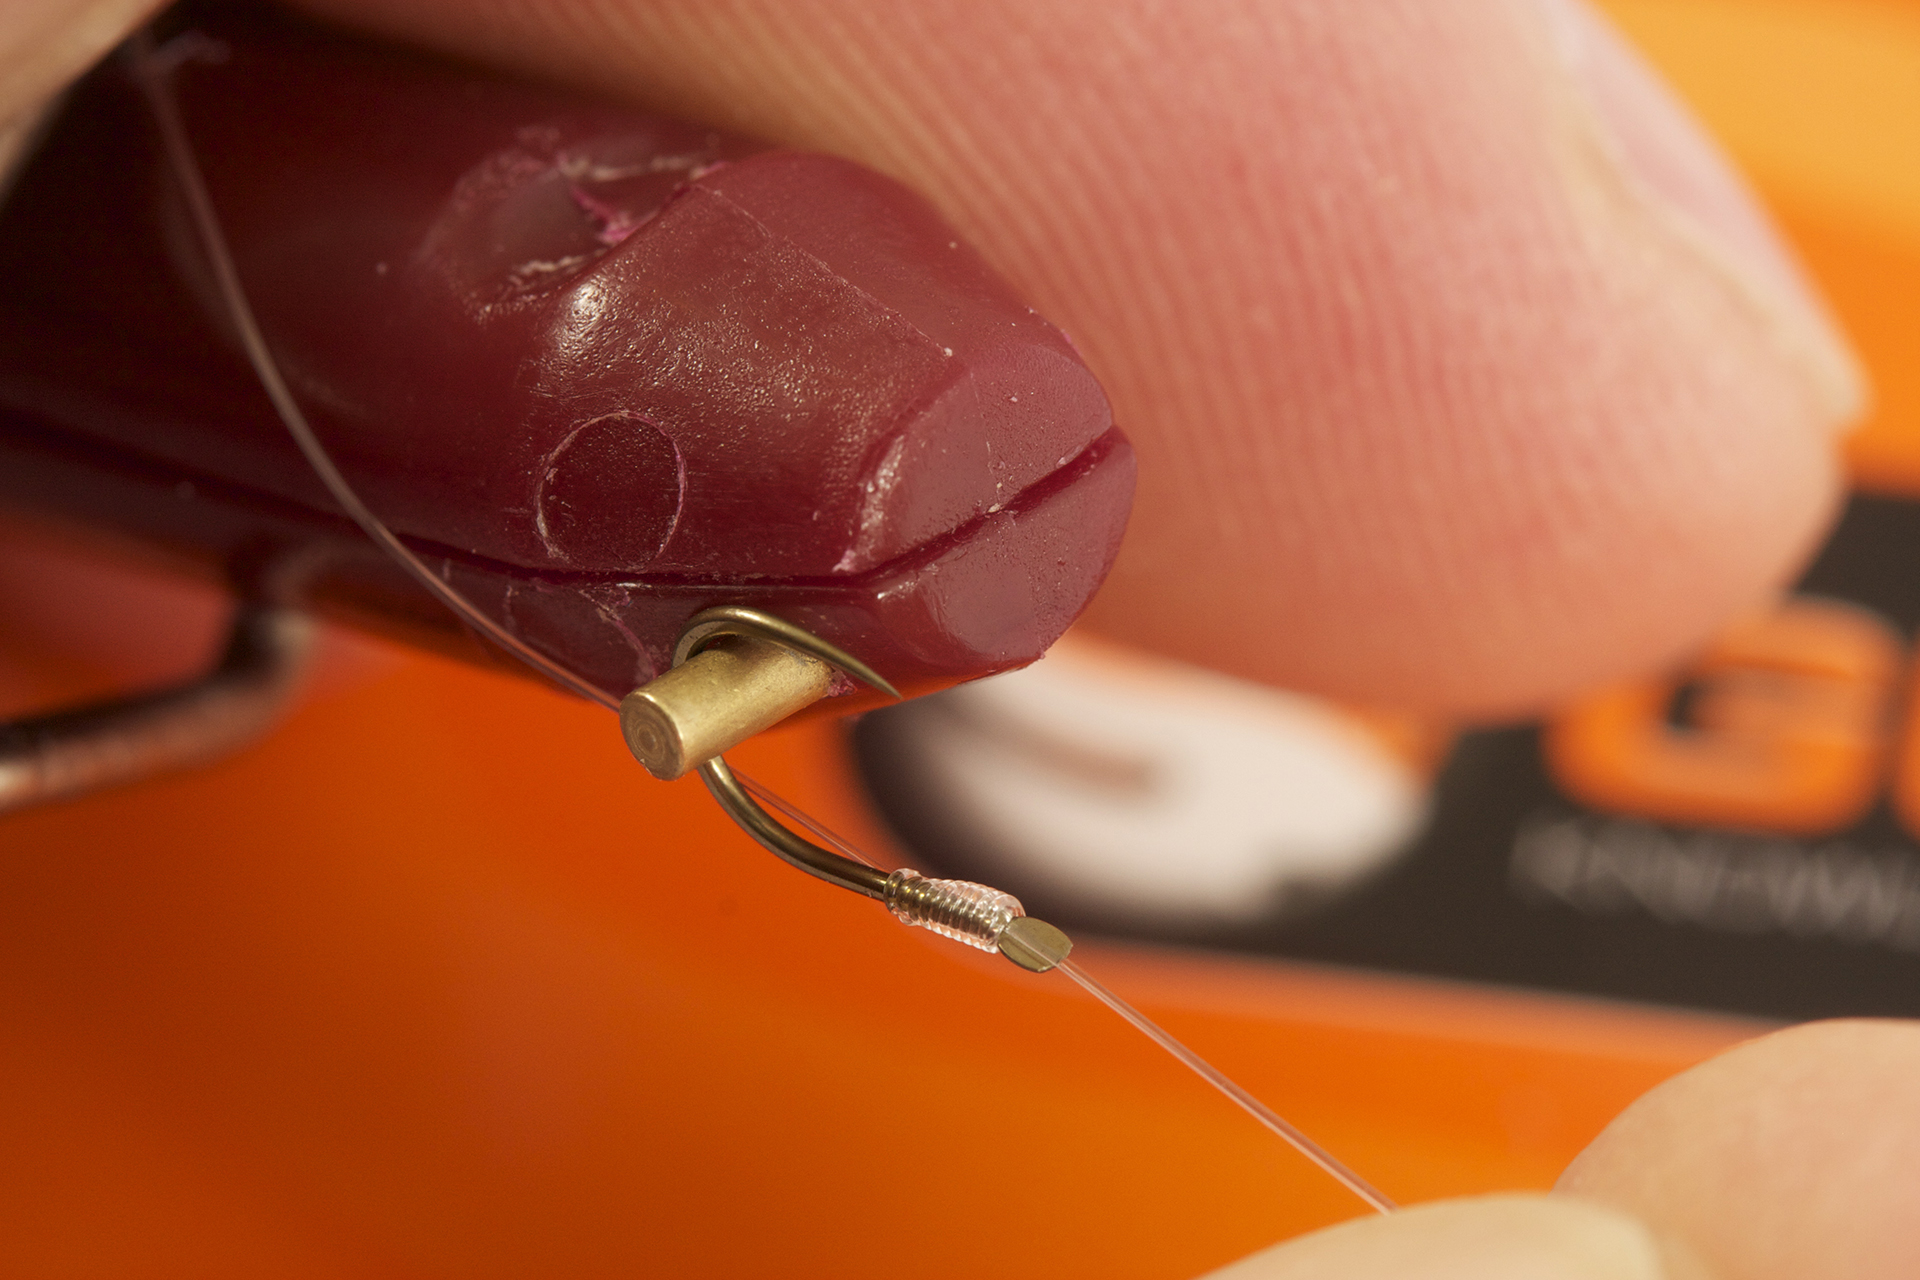
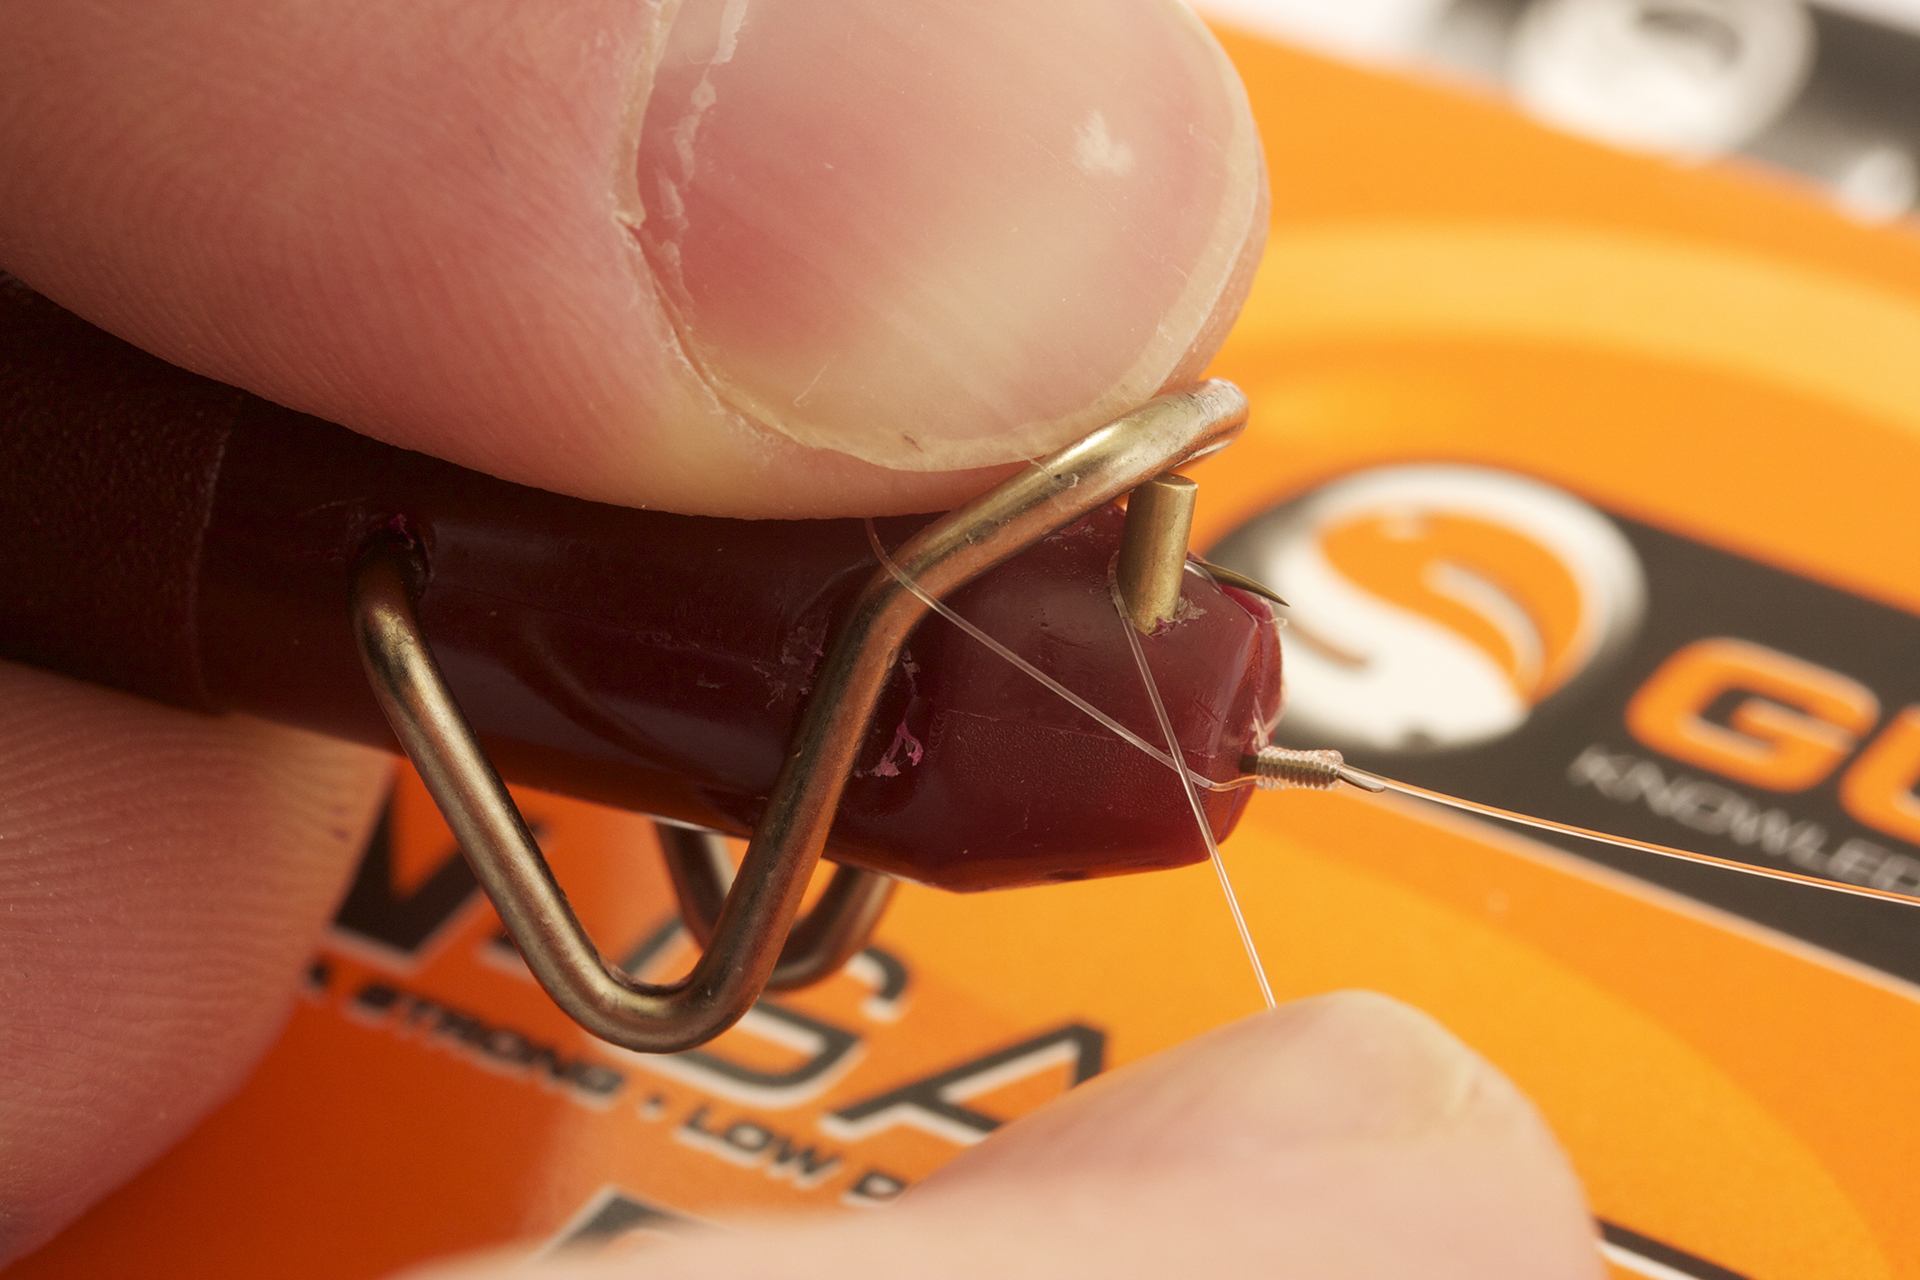
Step 16
Now place the hook around the gold pin and pull the main part of the line to fully secure the whipping.
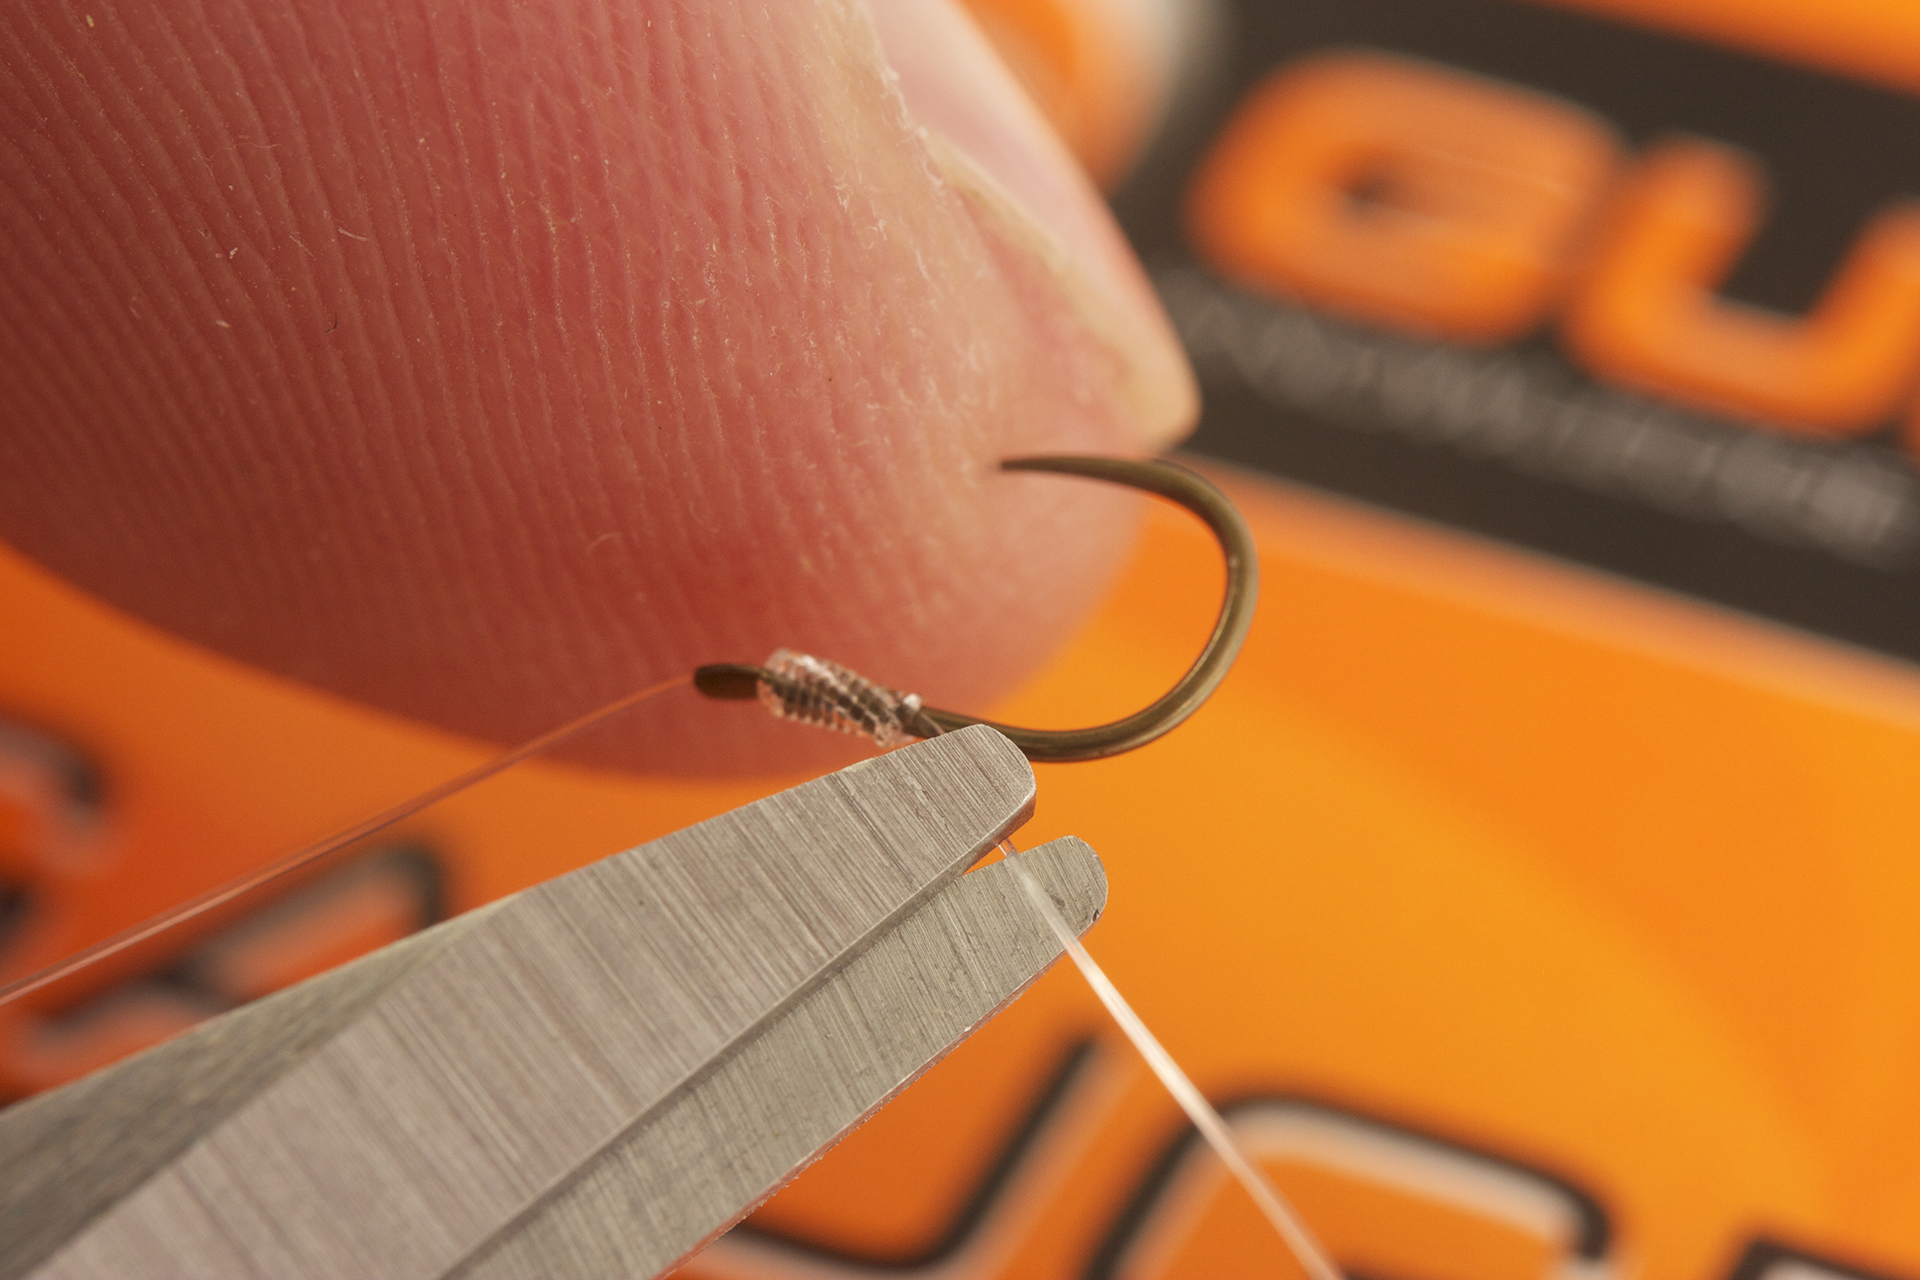
Step 17
Once you’re happy trim the tag part of line. Always leave between 2mm and 3mm of tag to safeguard against any slippage under extreme loads.
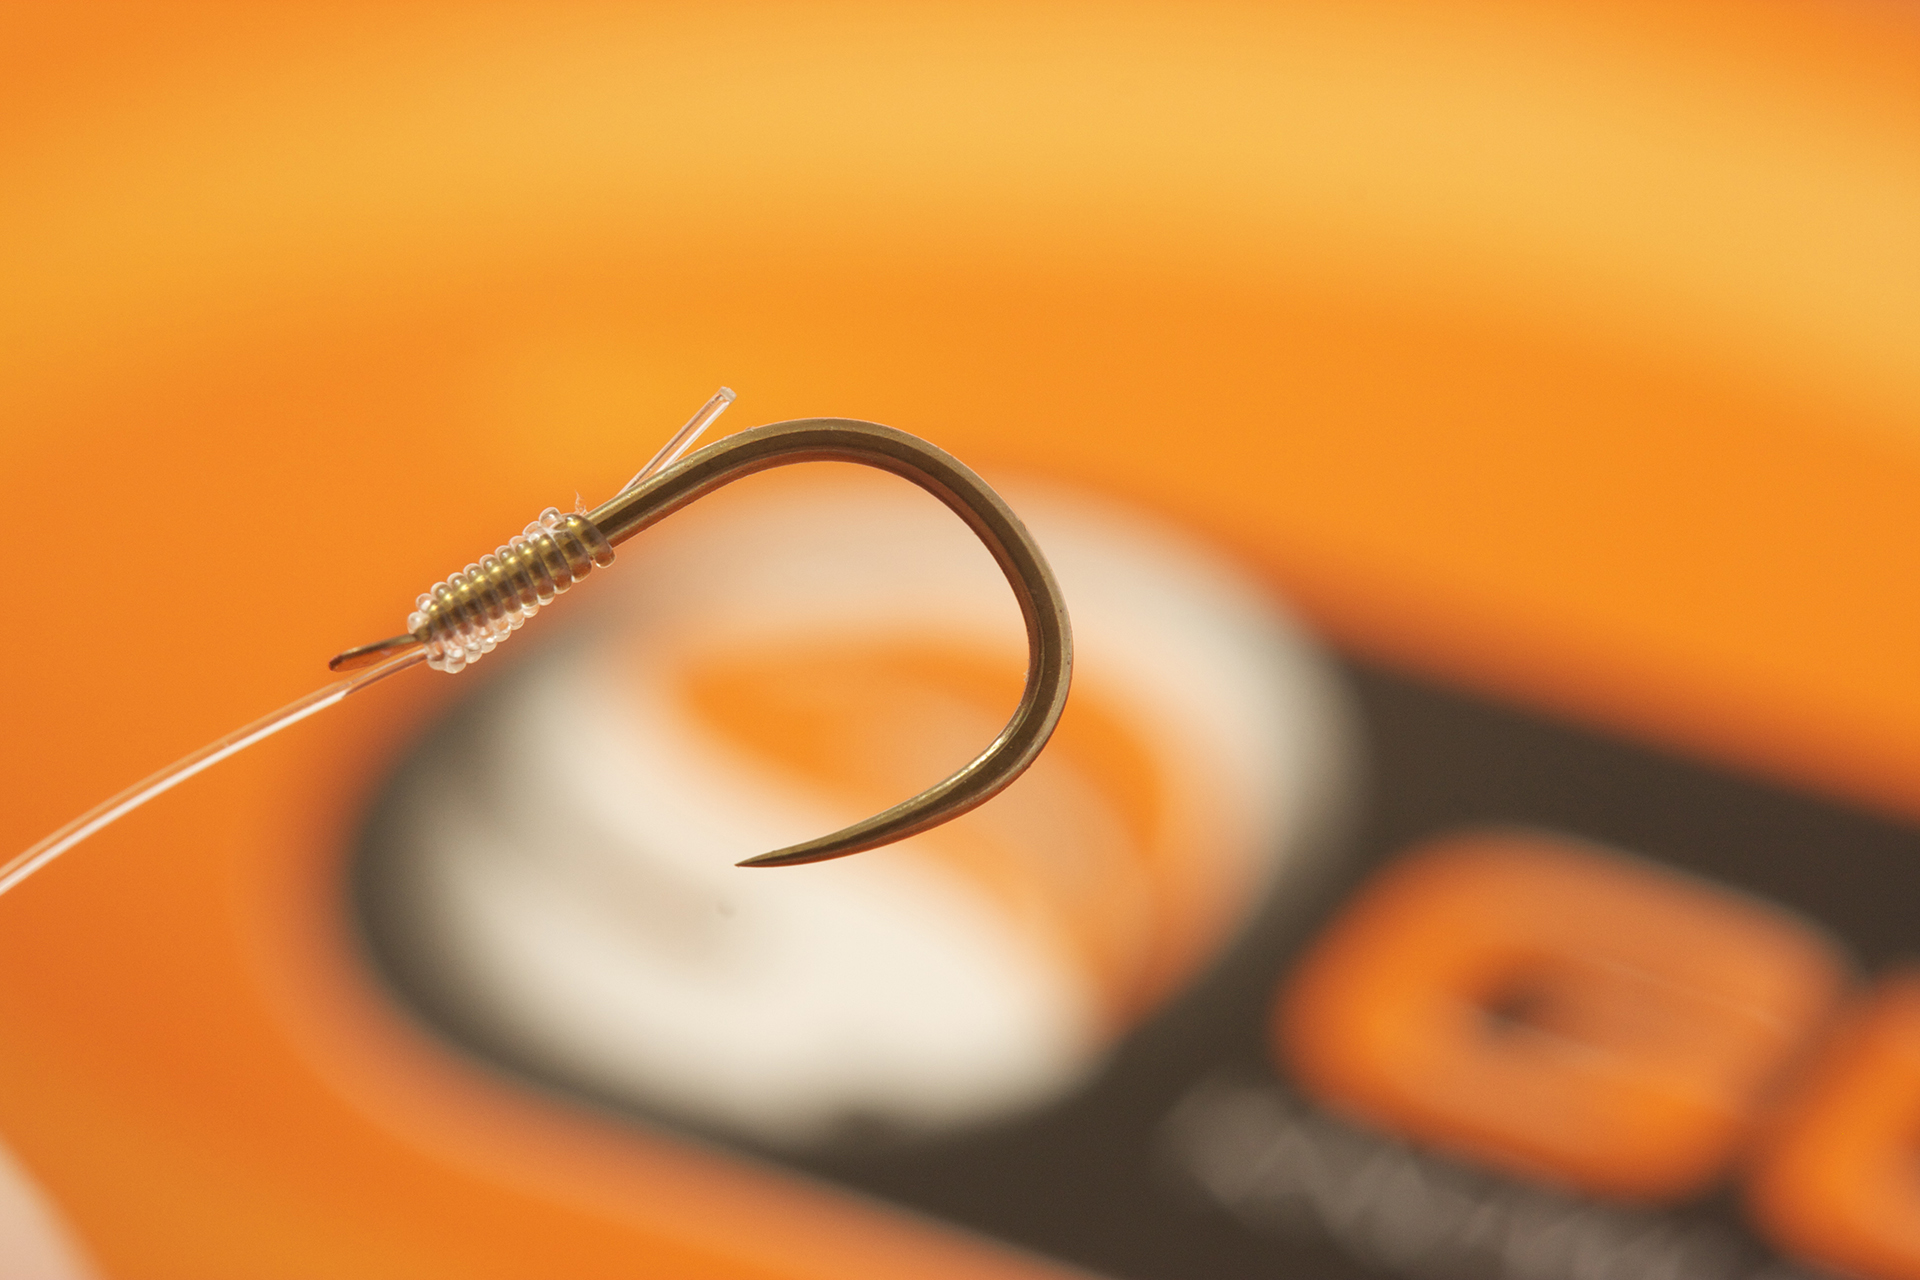
Step 18
The perfect finished article! Neat, strong and ready to help you catch more fish.