
All Haynes Digital Online Manuals are currently 50% off. They feature everything you love about our books in an instantly accessible digital online form, that you can use via any device with an internet connection.
This page is taken directly from our digital online manual 36058 for the 1980 to 1996 Ford F100, F150, F250, and F350 pickup trucks (including 1997 F250HD and F350), plus Bronco SUV, with 3.8L V6, 4.9L/300 cubic inch inline six, and 255, 5.0L/302, 5.8L/351, 400 and 460 cubic inch V8 engines. It covers replacing the shock absorbers in the front and back of the truck. Shock absorbers typically begin to lose their ability to damp movements as they get older, and if you drive off-road they may only last 2 years/25,000 miles. Inspect the shocks for leaks and damage, and bounce the corners to judge the damping every 6 months.
Front shock absorbers
Removal
-
Block the rear wheels, apply the parking brake, loosen the front wheel lugs nuts, raise the front of the vehicle and support it securely on jackstands. Remove the wheel.
-
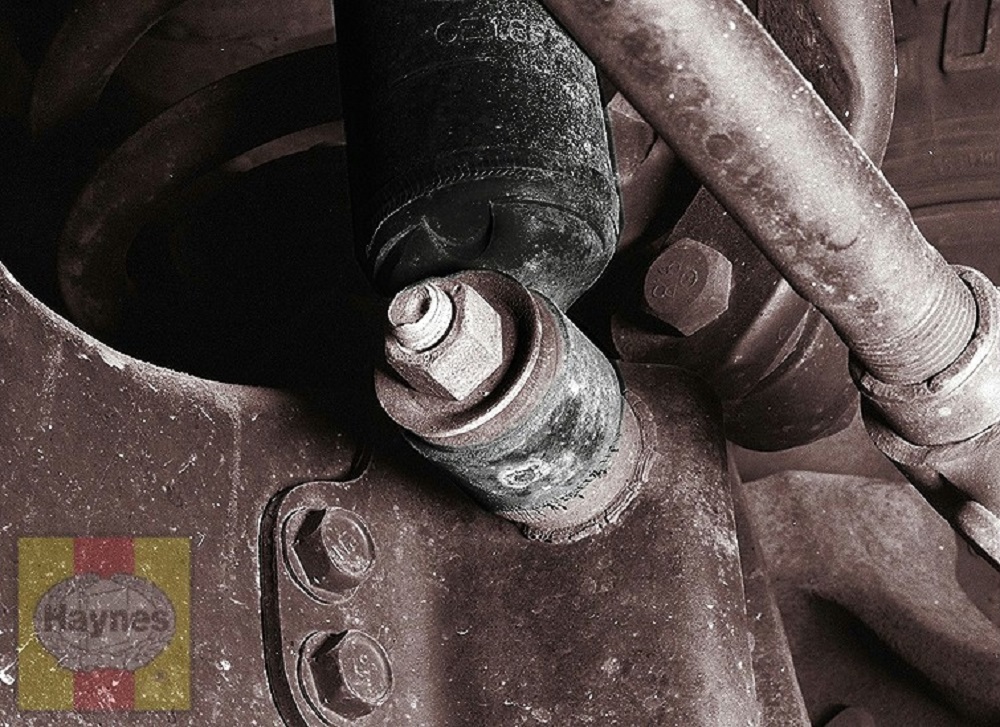
(See illustrations) On coil spring models (Mostly 2-wheel-drive trucks), remove the nut and washer from the top end of the shock absorber. If necessary, use a backup wrench on the hex provided on the lower part of the stud mount. On later leaf spring models, simply remove the upper shock mount bolt and nut.

Remove the nut from the stud at the upper end of the shock absorber (arrow) (hidden from view in this photo)
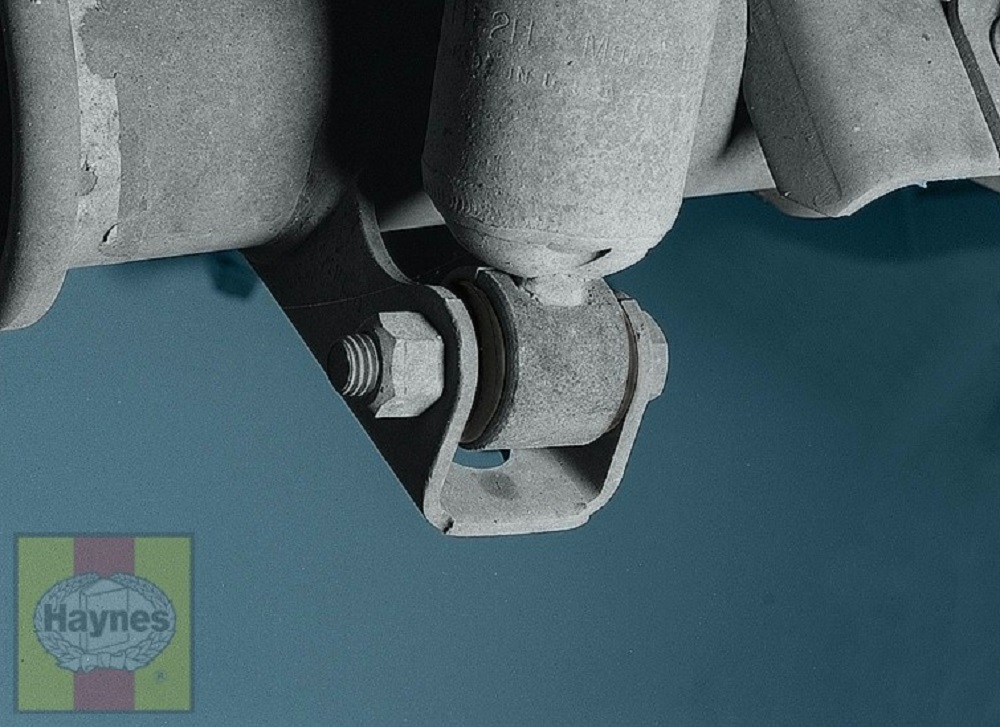
- (See illustration) Remove the nut and bolt securing the bottom end of the shock absorber to the lower bracket (coil spring) or spacer plate (leaf spring). Remove the shock absorber and insulators.
Remove the lower shock absorber mounting nut and bolt on the lower bracket (coil spring trucks) or spacer plate (leaf spring models)
Inspection
- Remove and examine the shock absorber for signs of damage to the body, distorted piston rod, loose mounting or hydraulic fluid leakage which, if evident, means a new unit should be installed. Inspect the upper frame mounted shock insulators on coil spring models for signs of wear. Replace if required.
- To test for shock absorber efficiency, hold the unit in a vertical position. Completely extend the piston rod and then invert the unit and completely compress it. Perform this sequence several times to work out any trapped air bubbles. Mount the bottom end of the shock absorber in a soft-jawed vise. Grasp the upper rod of the shock absorber, extend it fully and then contract it fully as rapidly as possible. The resistance should be smooth and uniform throughout the entire stroke in both directions. The resistance should be greater during the extension stroke than during the compression stroke. If there is erratic or notchy resistance during either stroke, or if the resistance is the same (or less) during the extension stroke, the shock absorbers should be replaced. The shock absorbers on each axle should have identical action and shock absorbers should always be replaced in pairs (on the same axle).
Installation
- Installation is the reverse of removal. If old shock absorbers are being reinstalled (after being checked for correct operating action), the bushings should be replaced if there are any signs of deterioration or wear. New shock absorbers always come equipped with new bushings. When installing new bushings, never compress them beyond the diameter of the steel washers retaining them.
Rear shock absorbers
removal, inspection and installation
-
Block the front wheels. Raise the rear of the vehicle and support it securely on jack stands. Support the axle with a floor jack near the shock absorber to be removed.
-
(See illustration) Remove the shock absorber lower attaching nut and pull it free of the mounting bracket.
Remove the lower shock absorber mounting nut and bolt from the mounting tab on the rear axle
- (See illustration) Remove the securing nut from the upper mounting stud (see illustration) and withdraw the shock absorber from the vehicle.
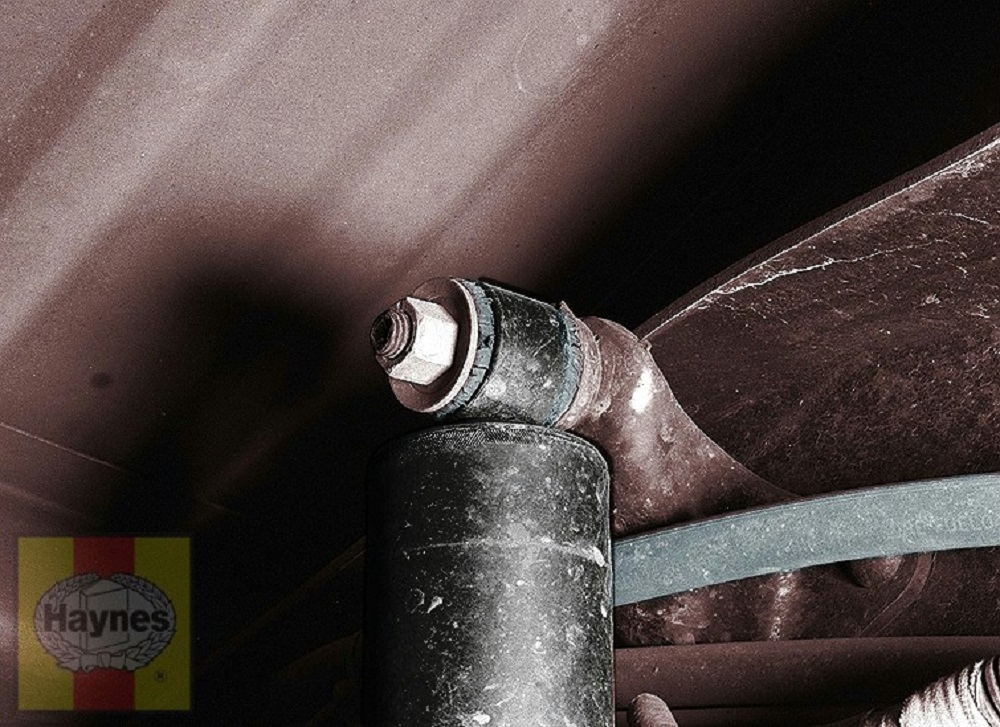
Remove the upper shock absober mounting nut from the stud and remove the unit from the truck
- Inspection of the rear shock absorber is similar to that for the front shock absorber (see above).
- Installation of the rear shock absorber is the reverse of removal.